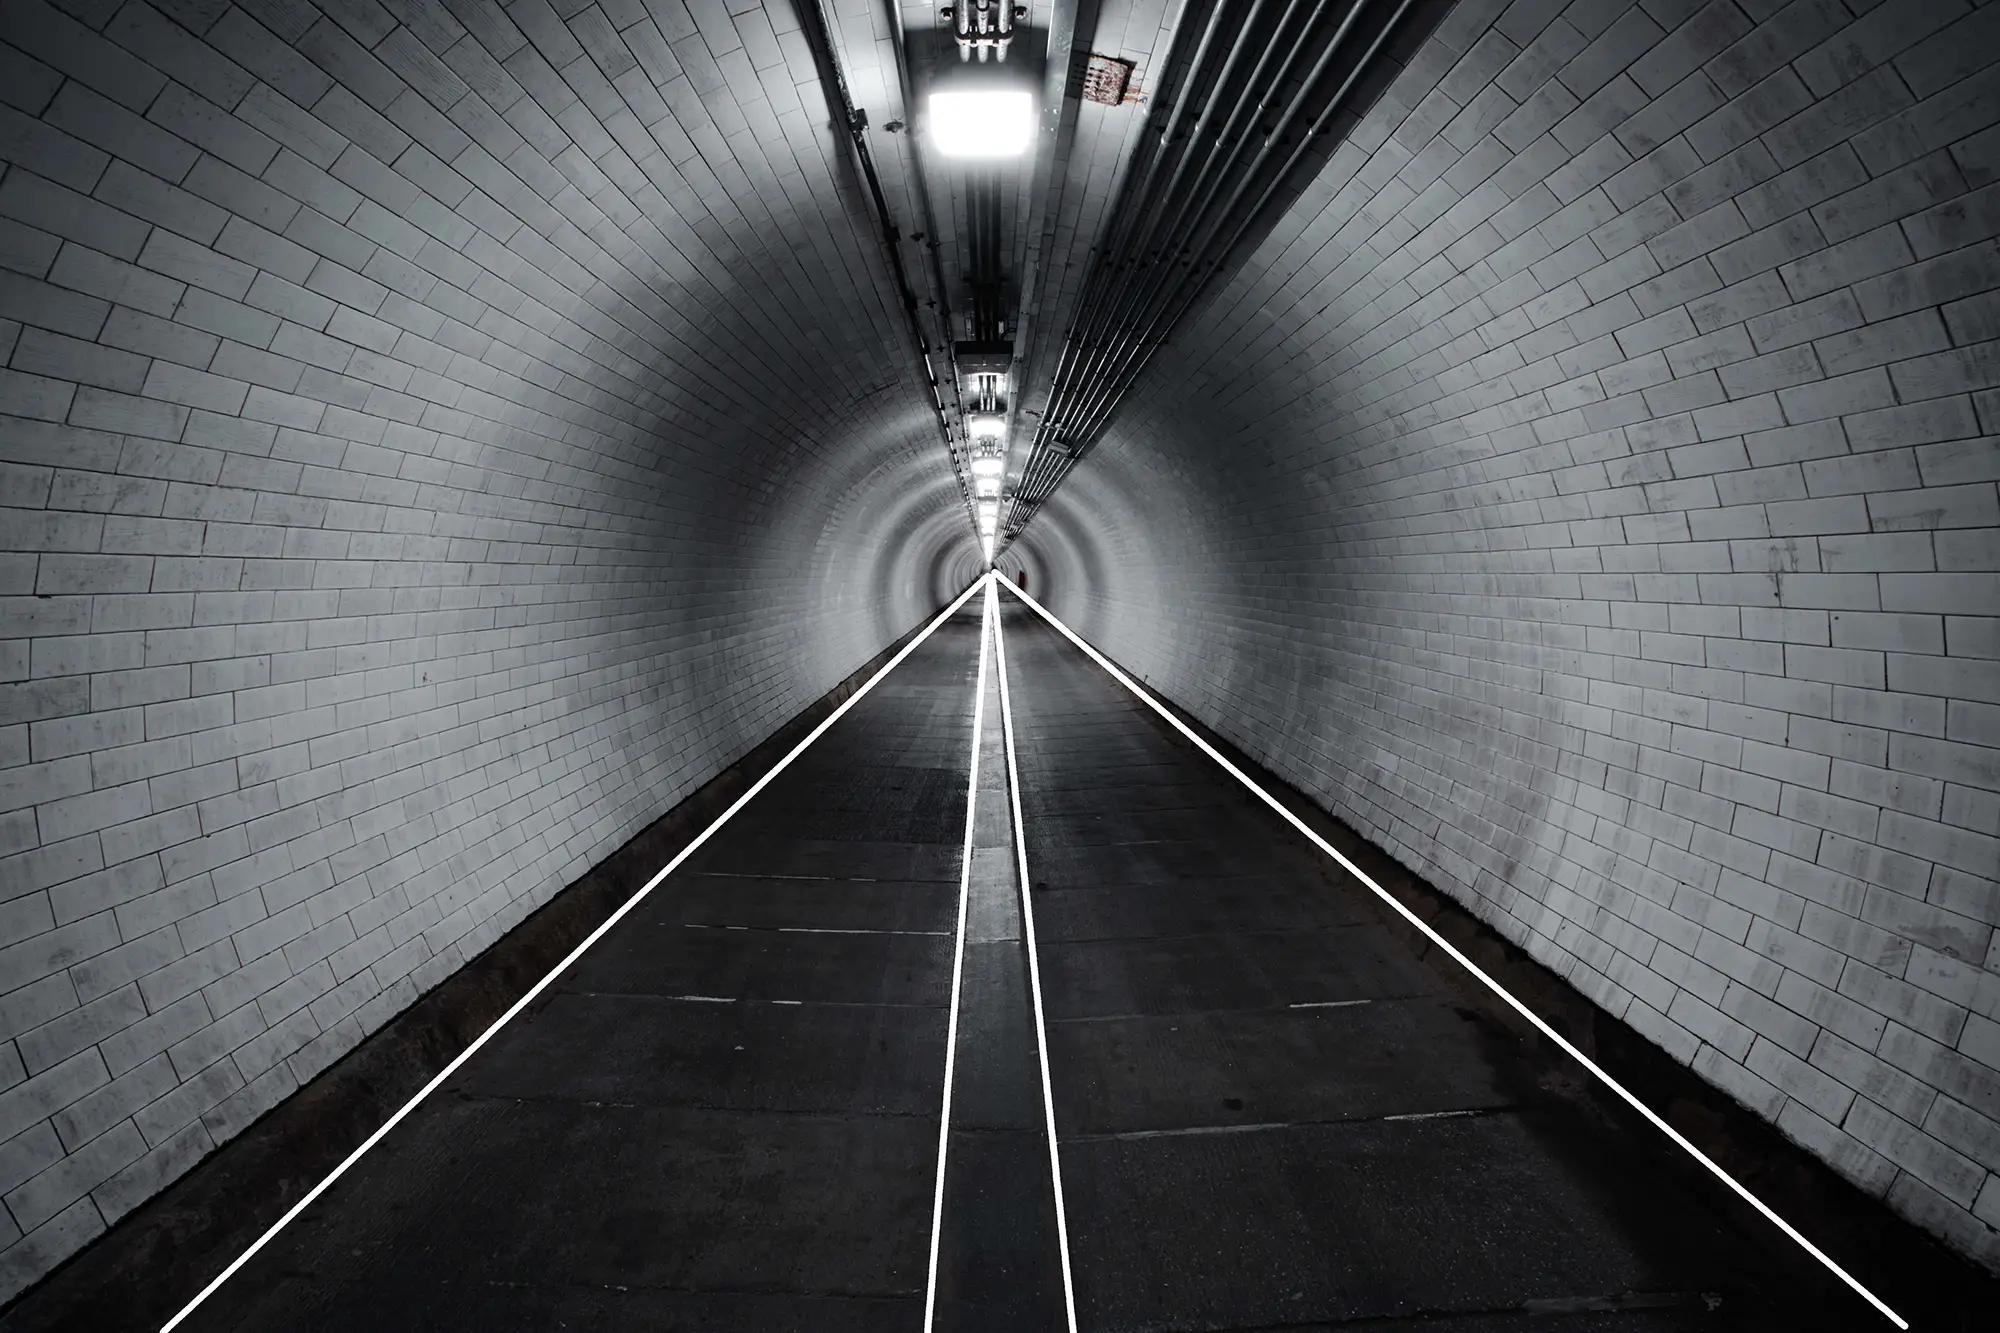
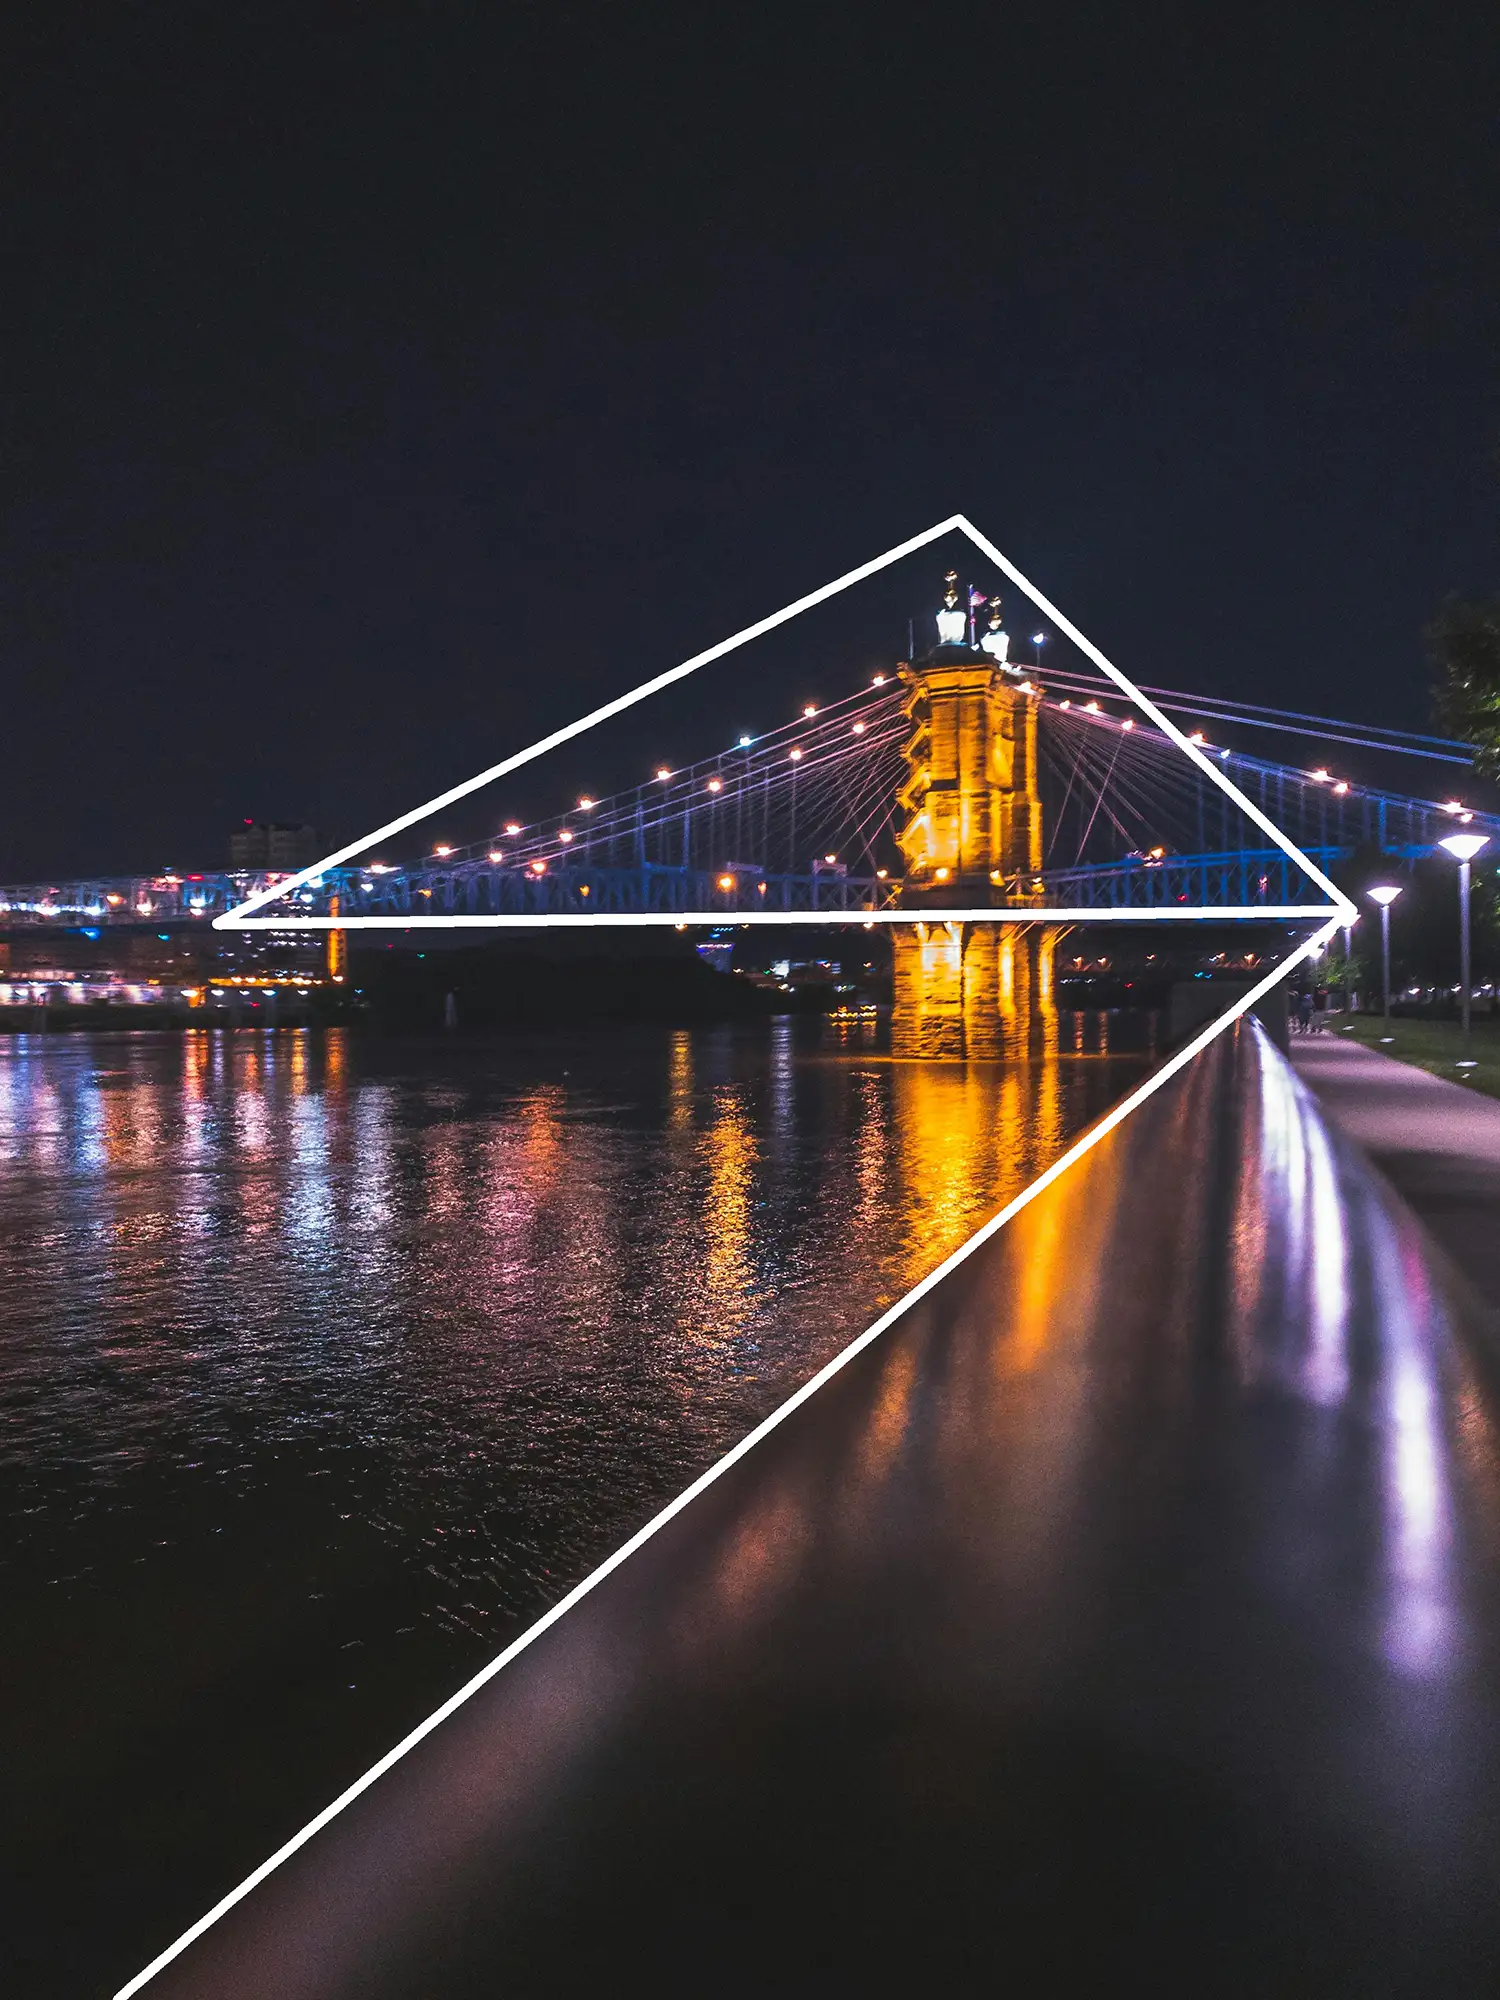
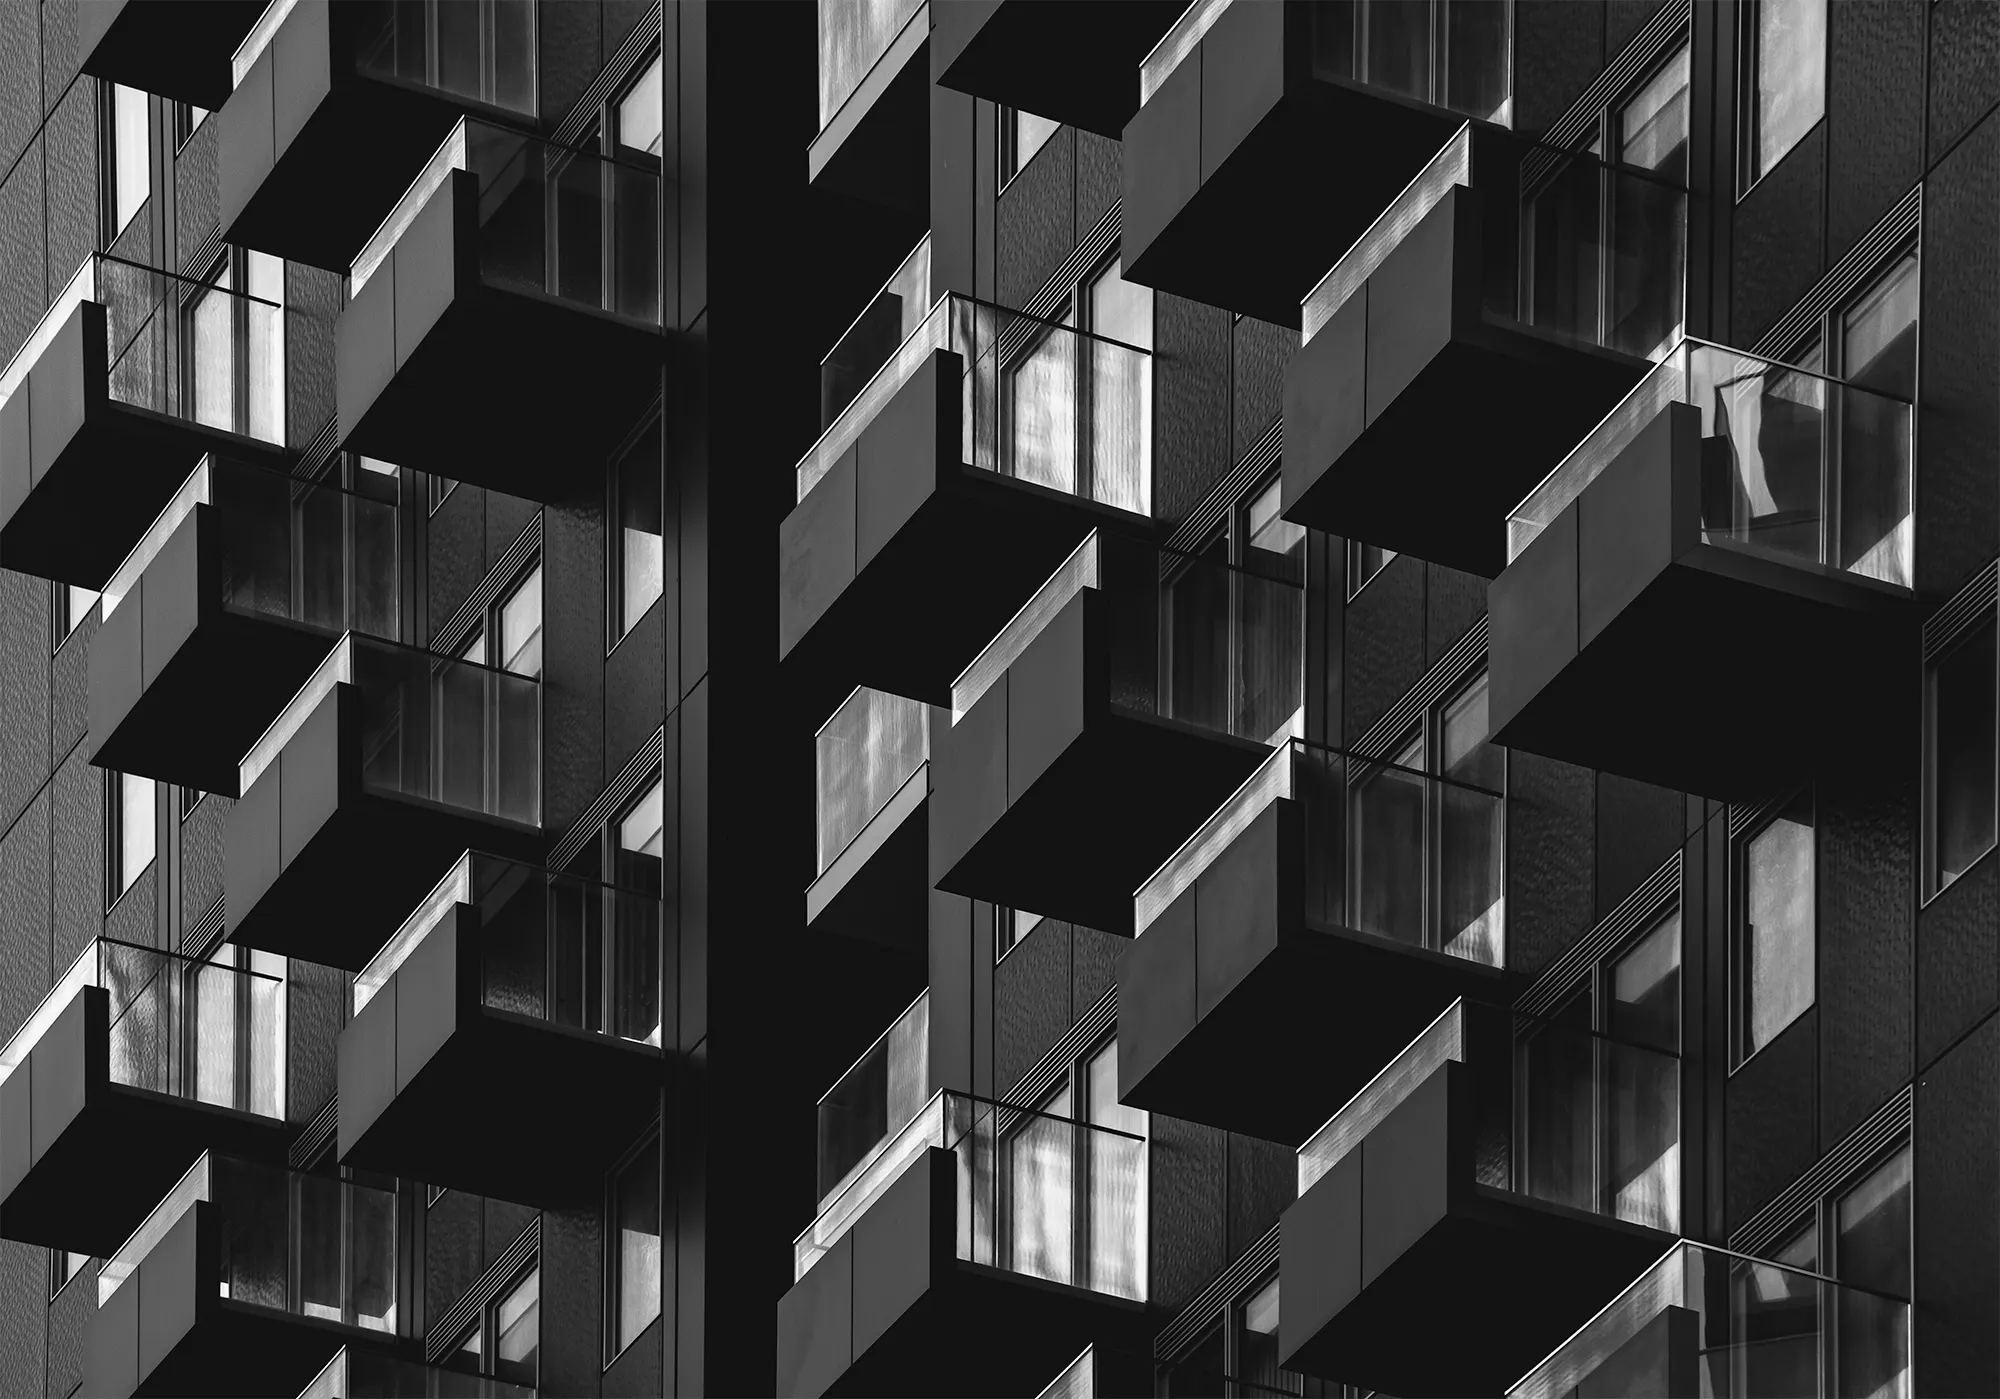
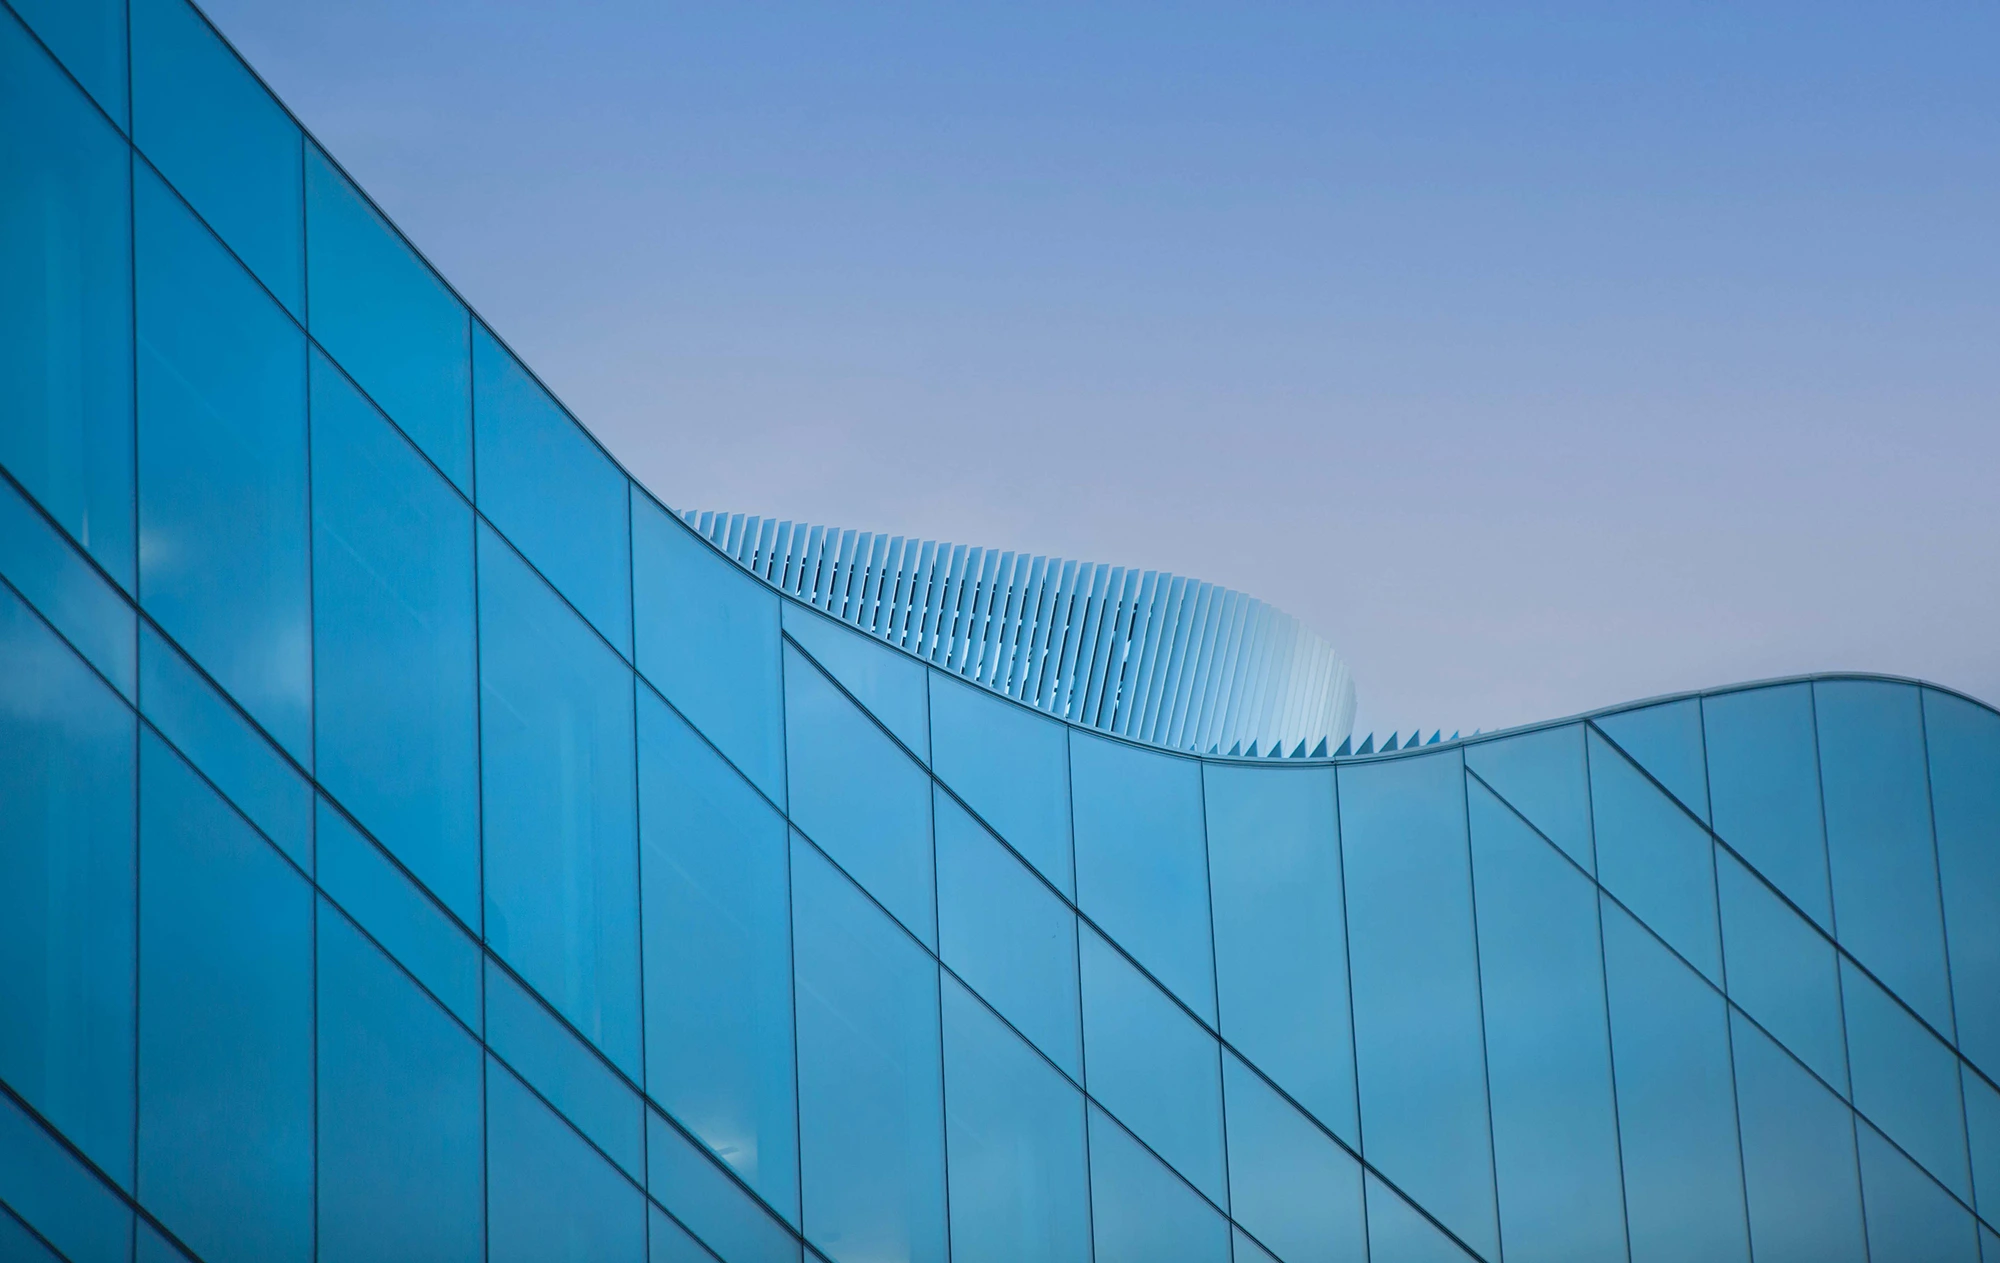
Simplicity and Minimalism in Photography: Less Is More

Introduction: The Beauty of Minimalism

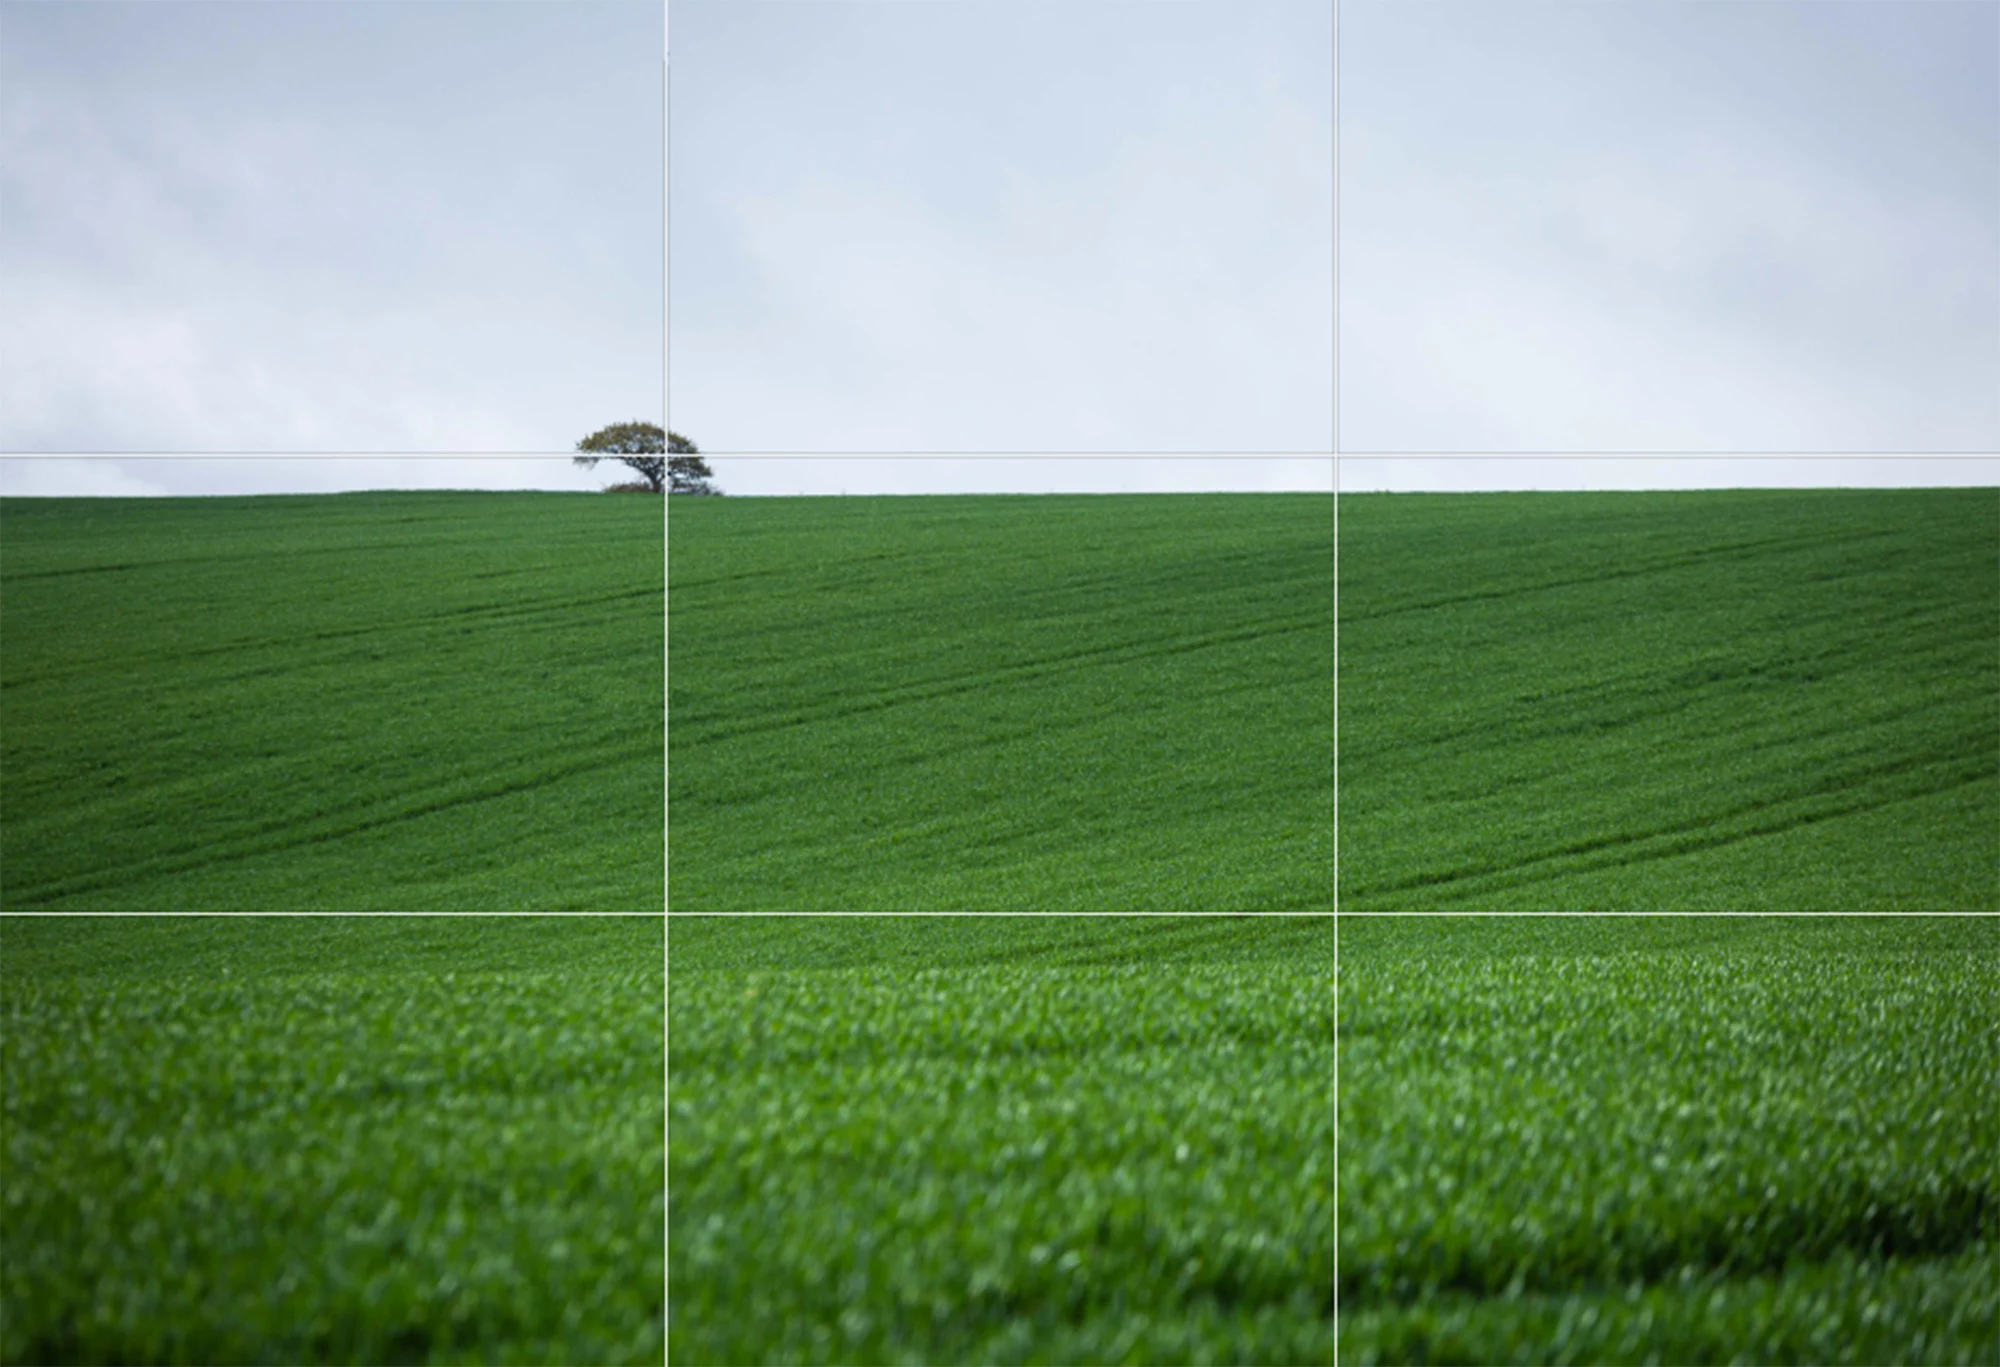
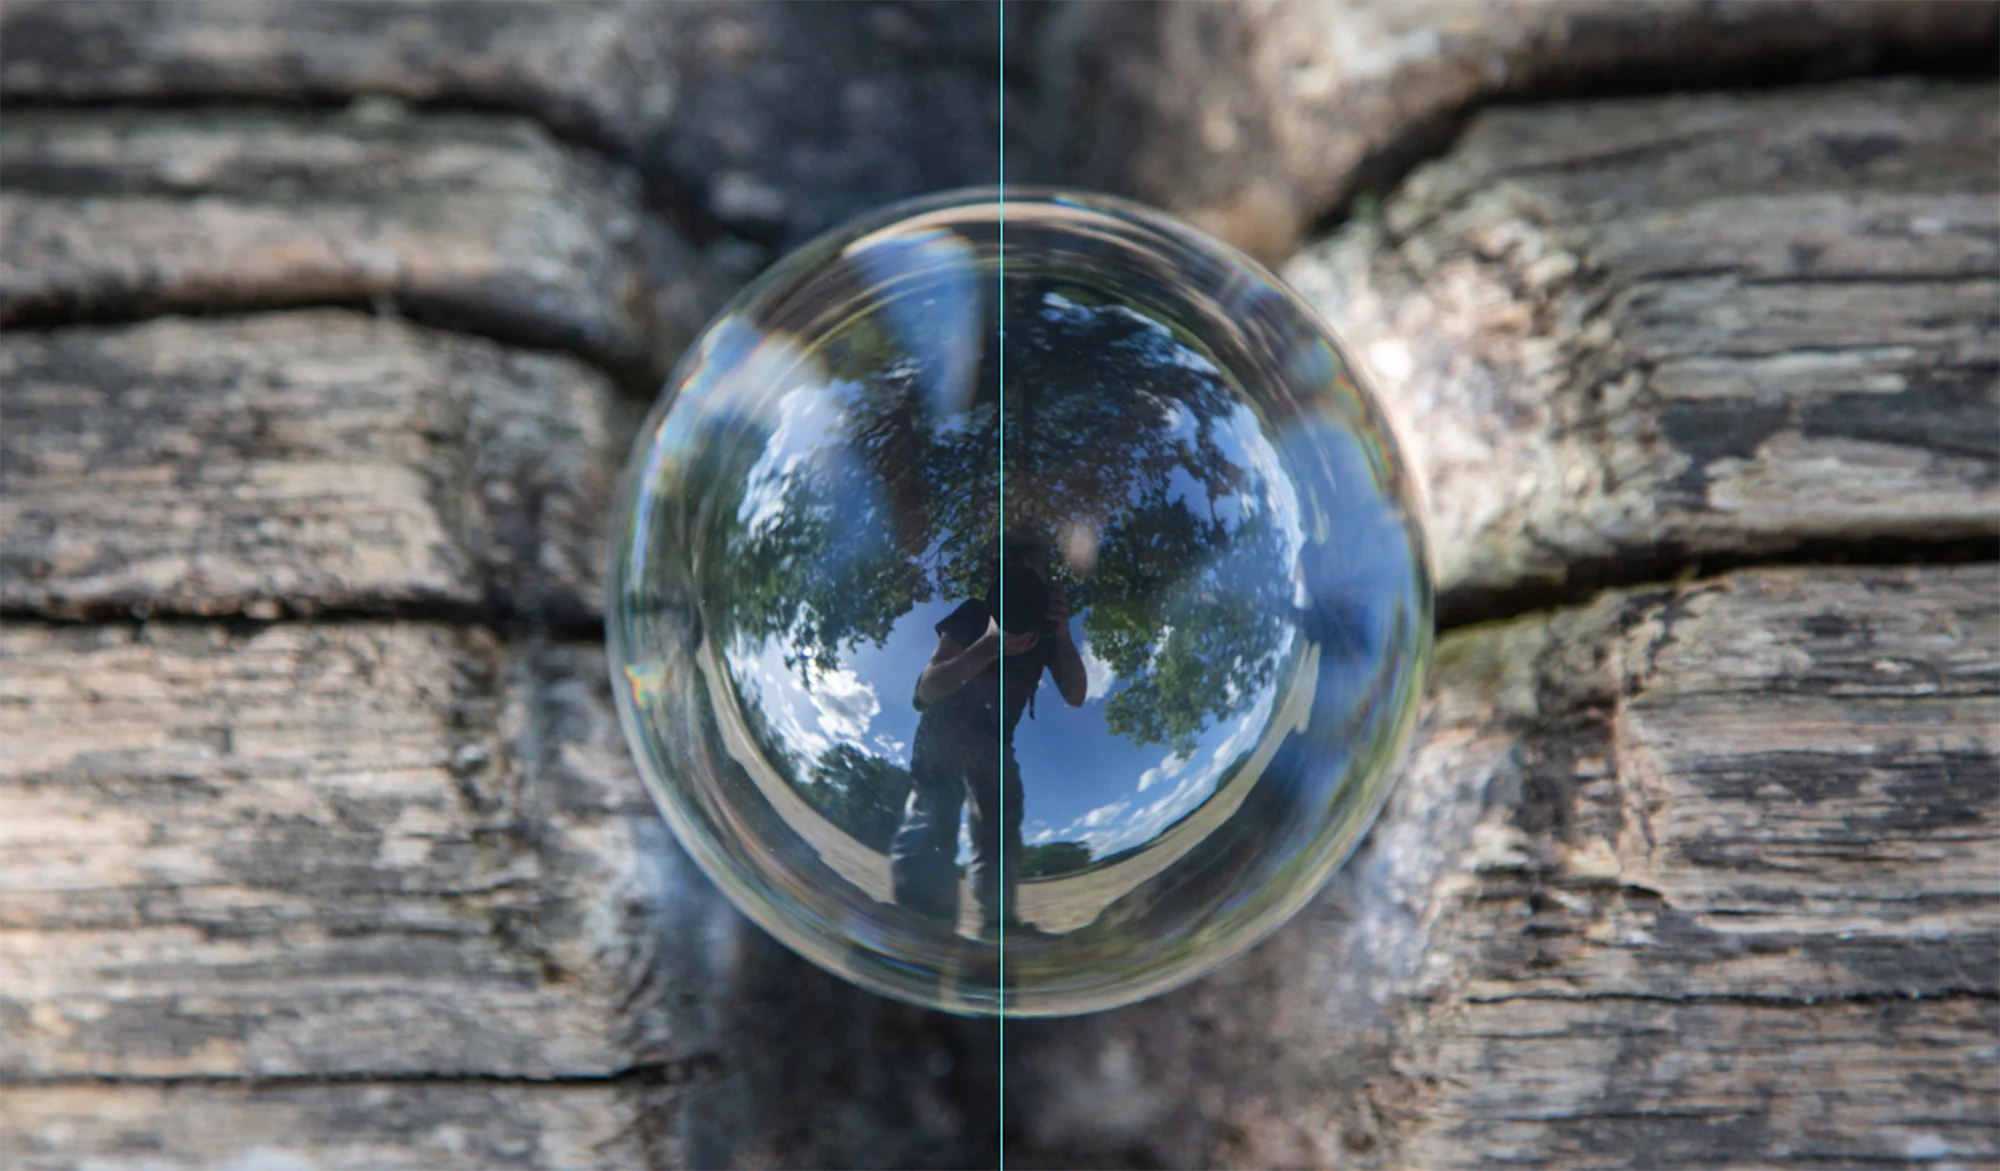
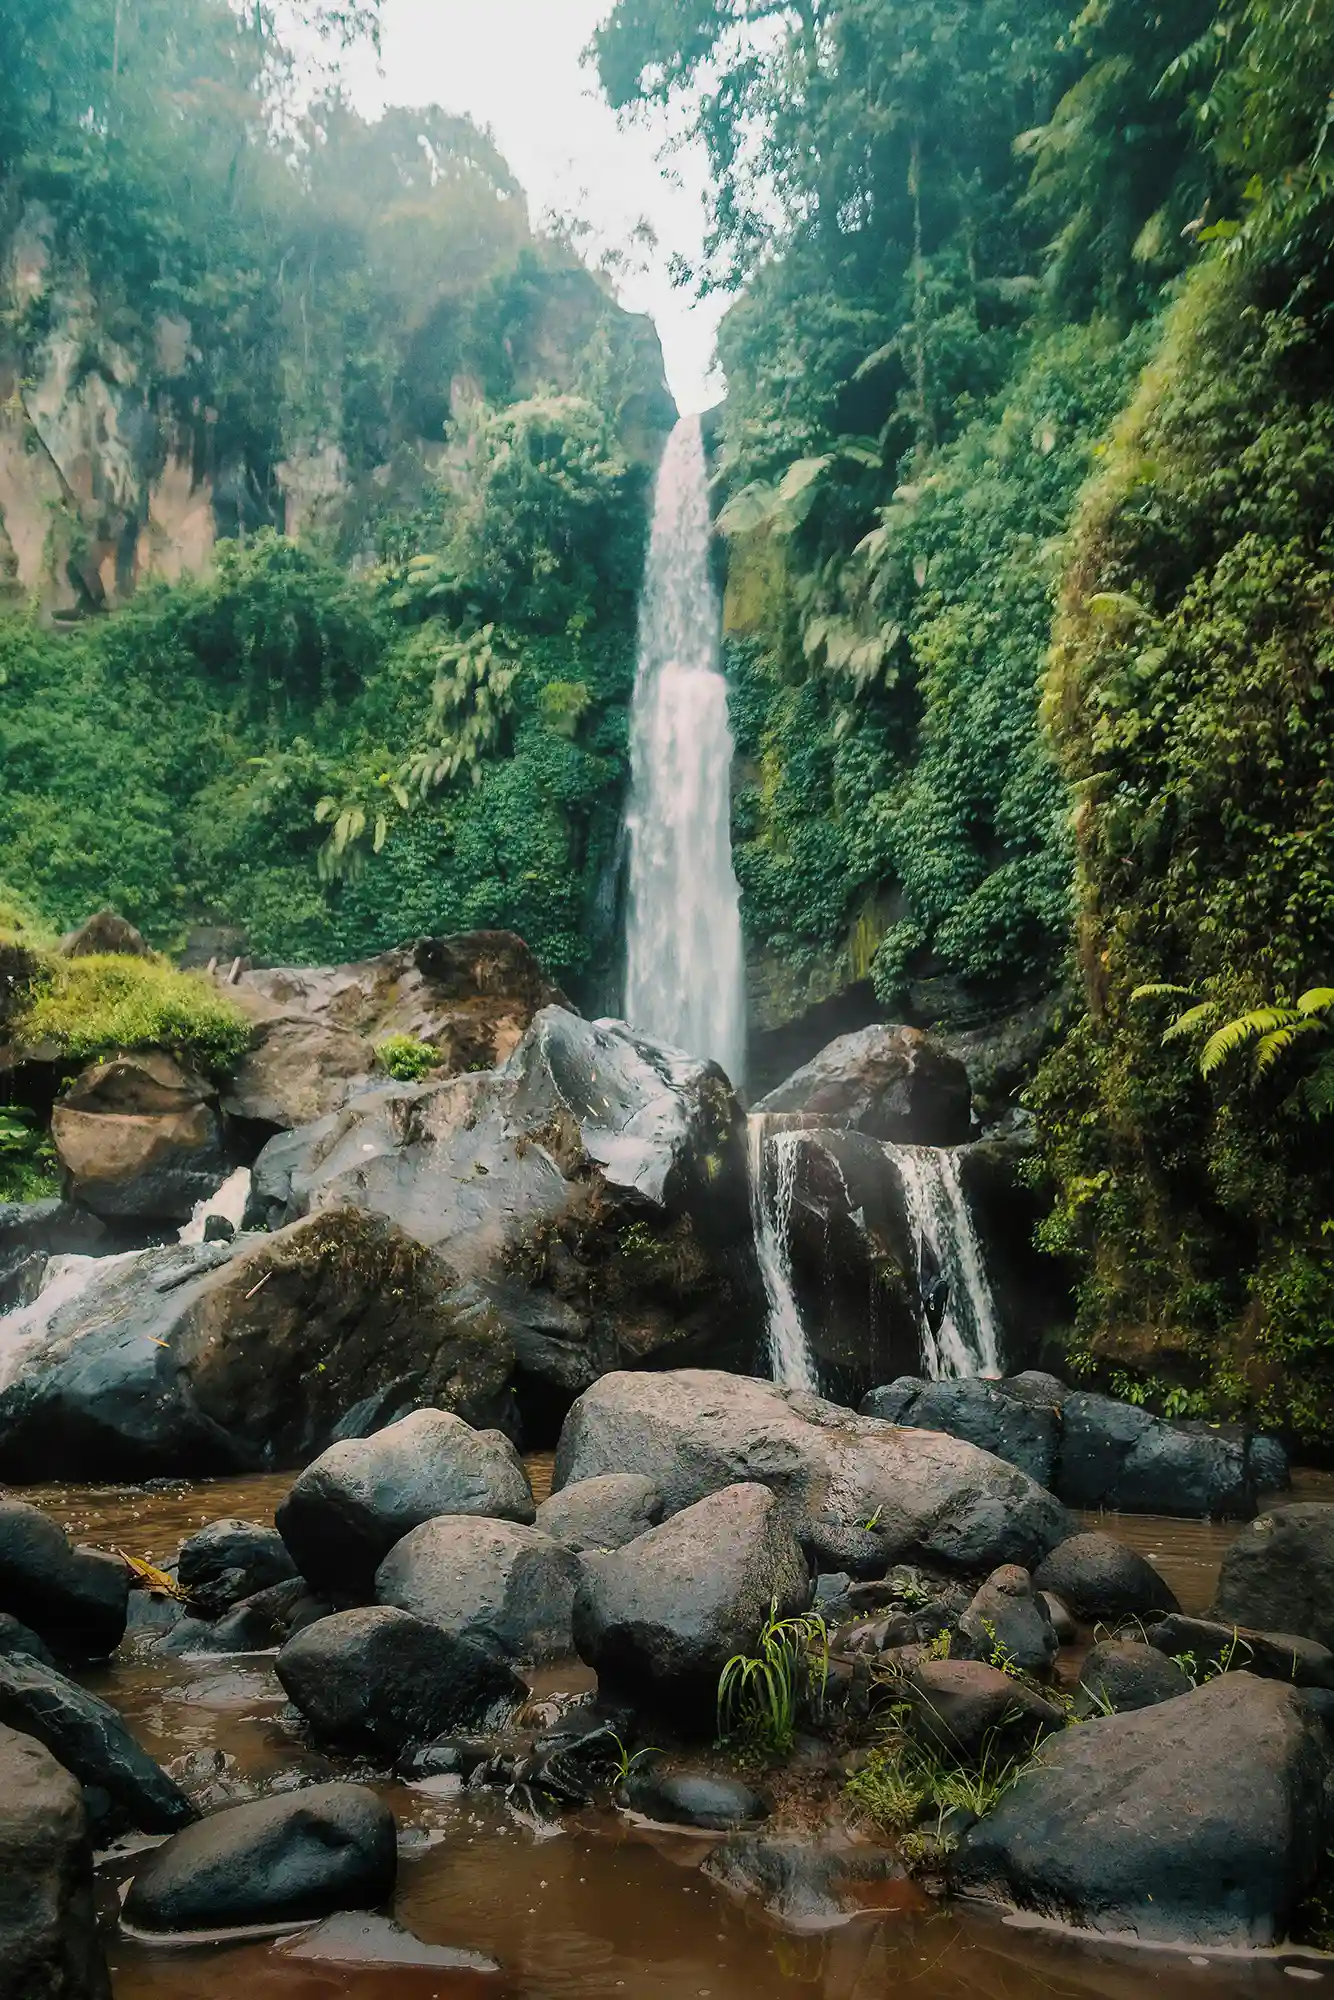
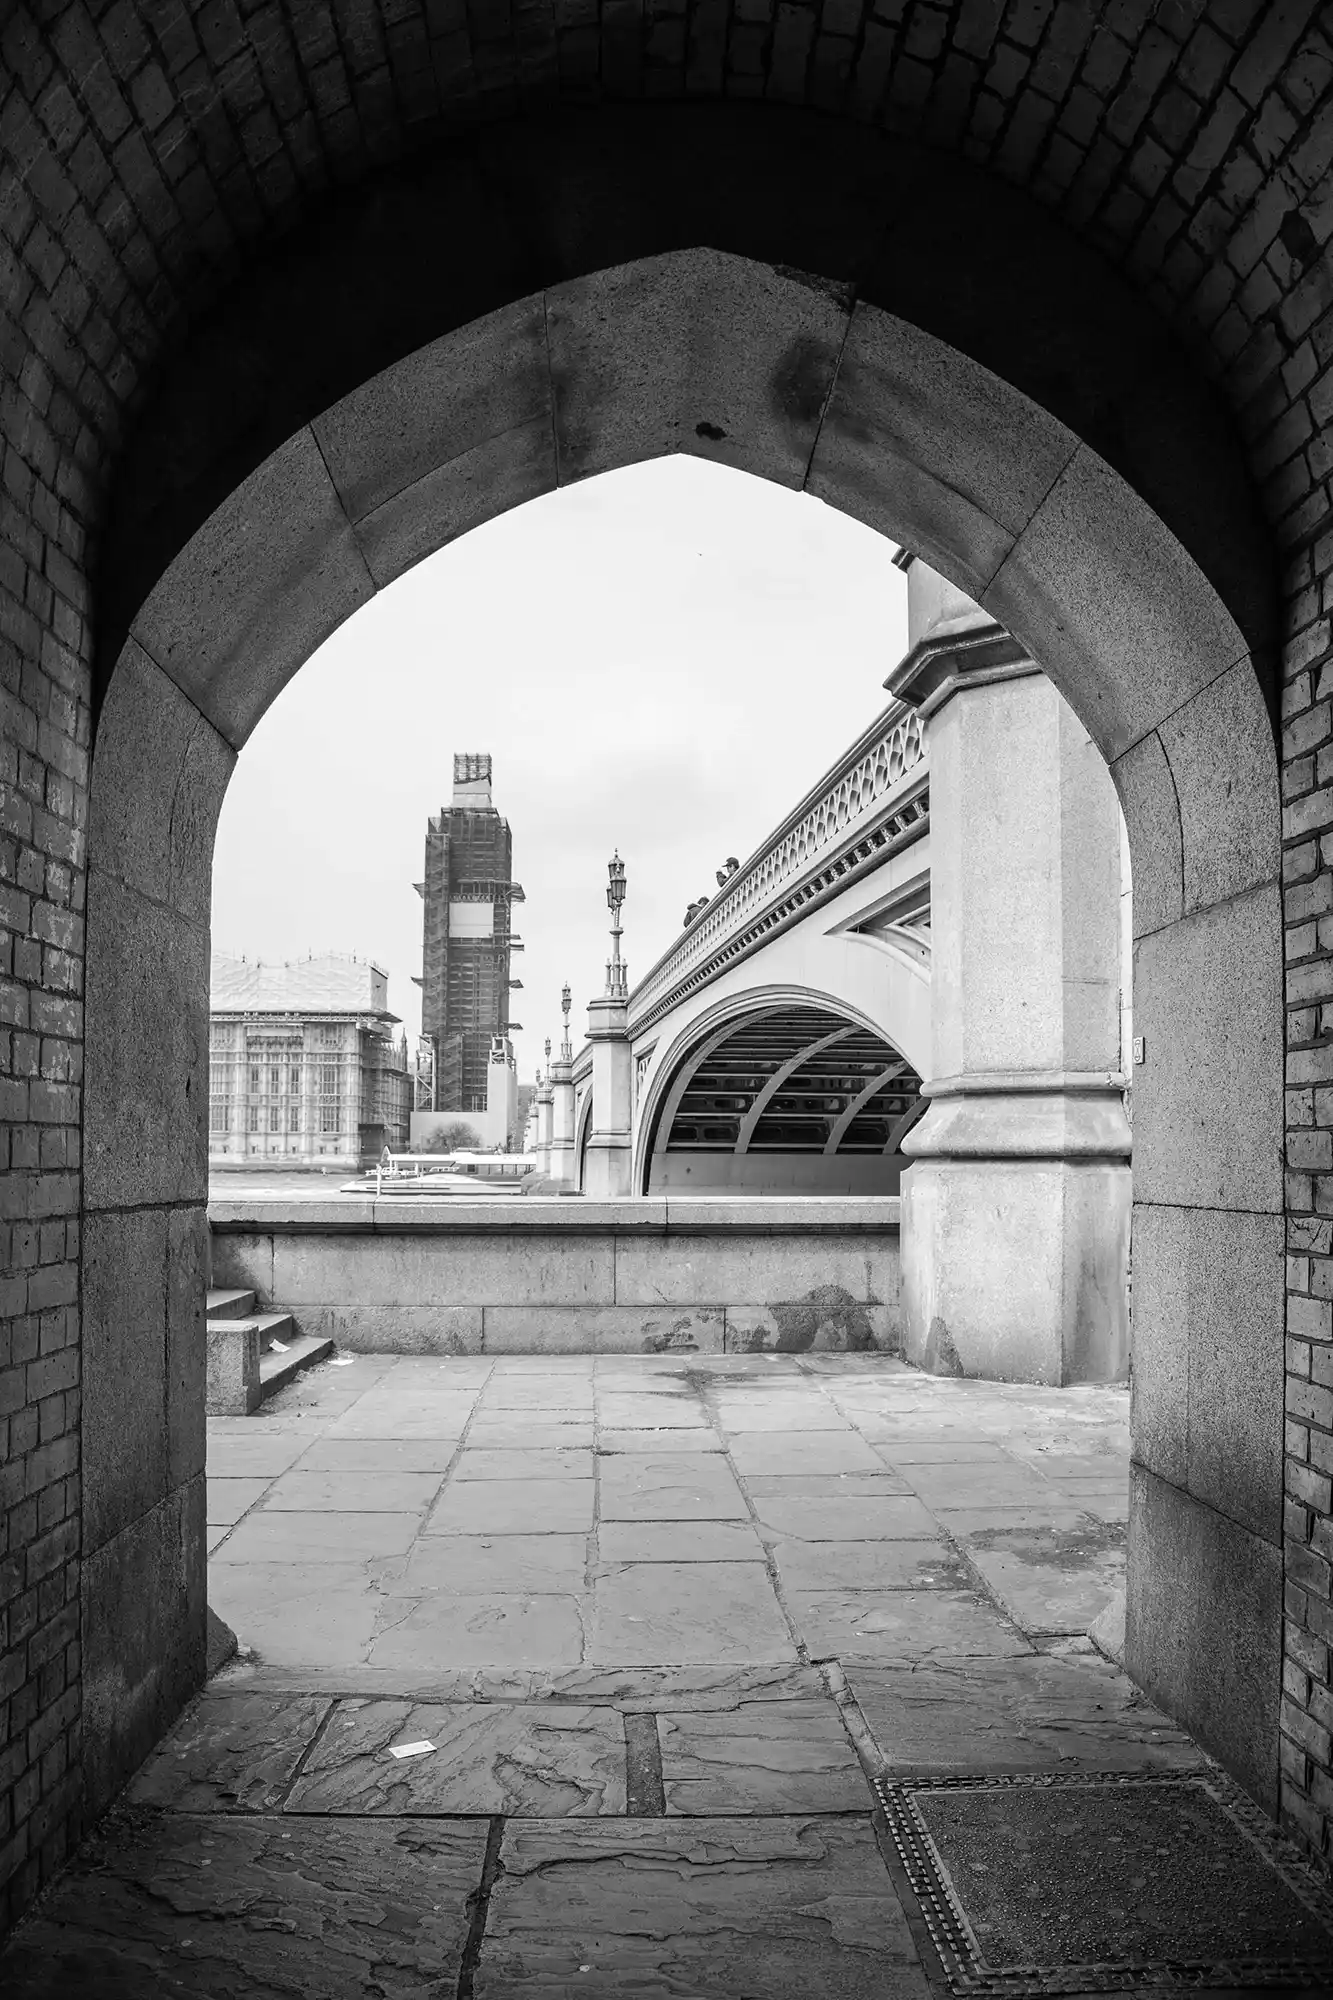
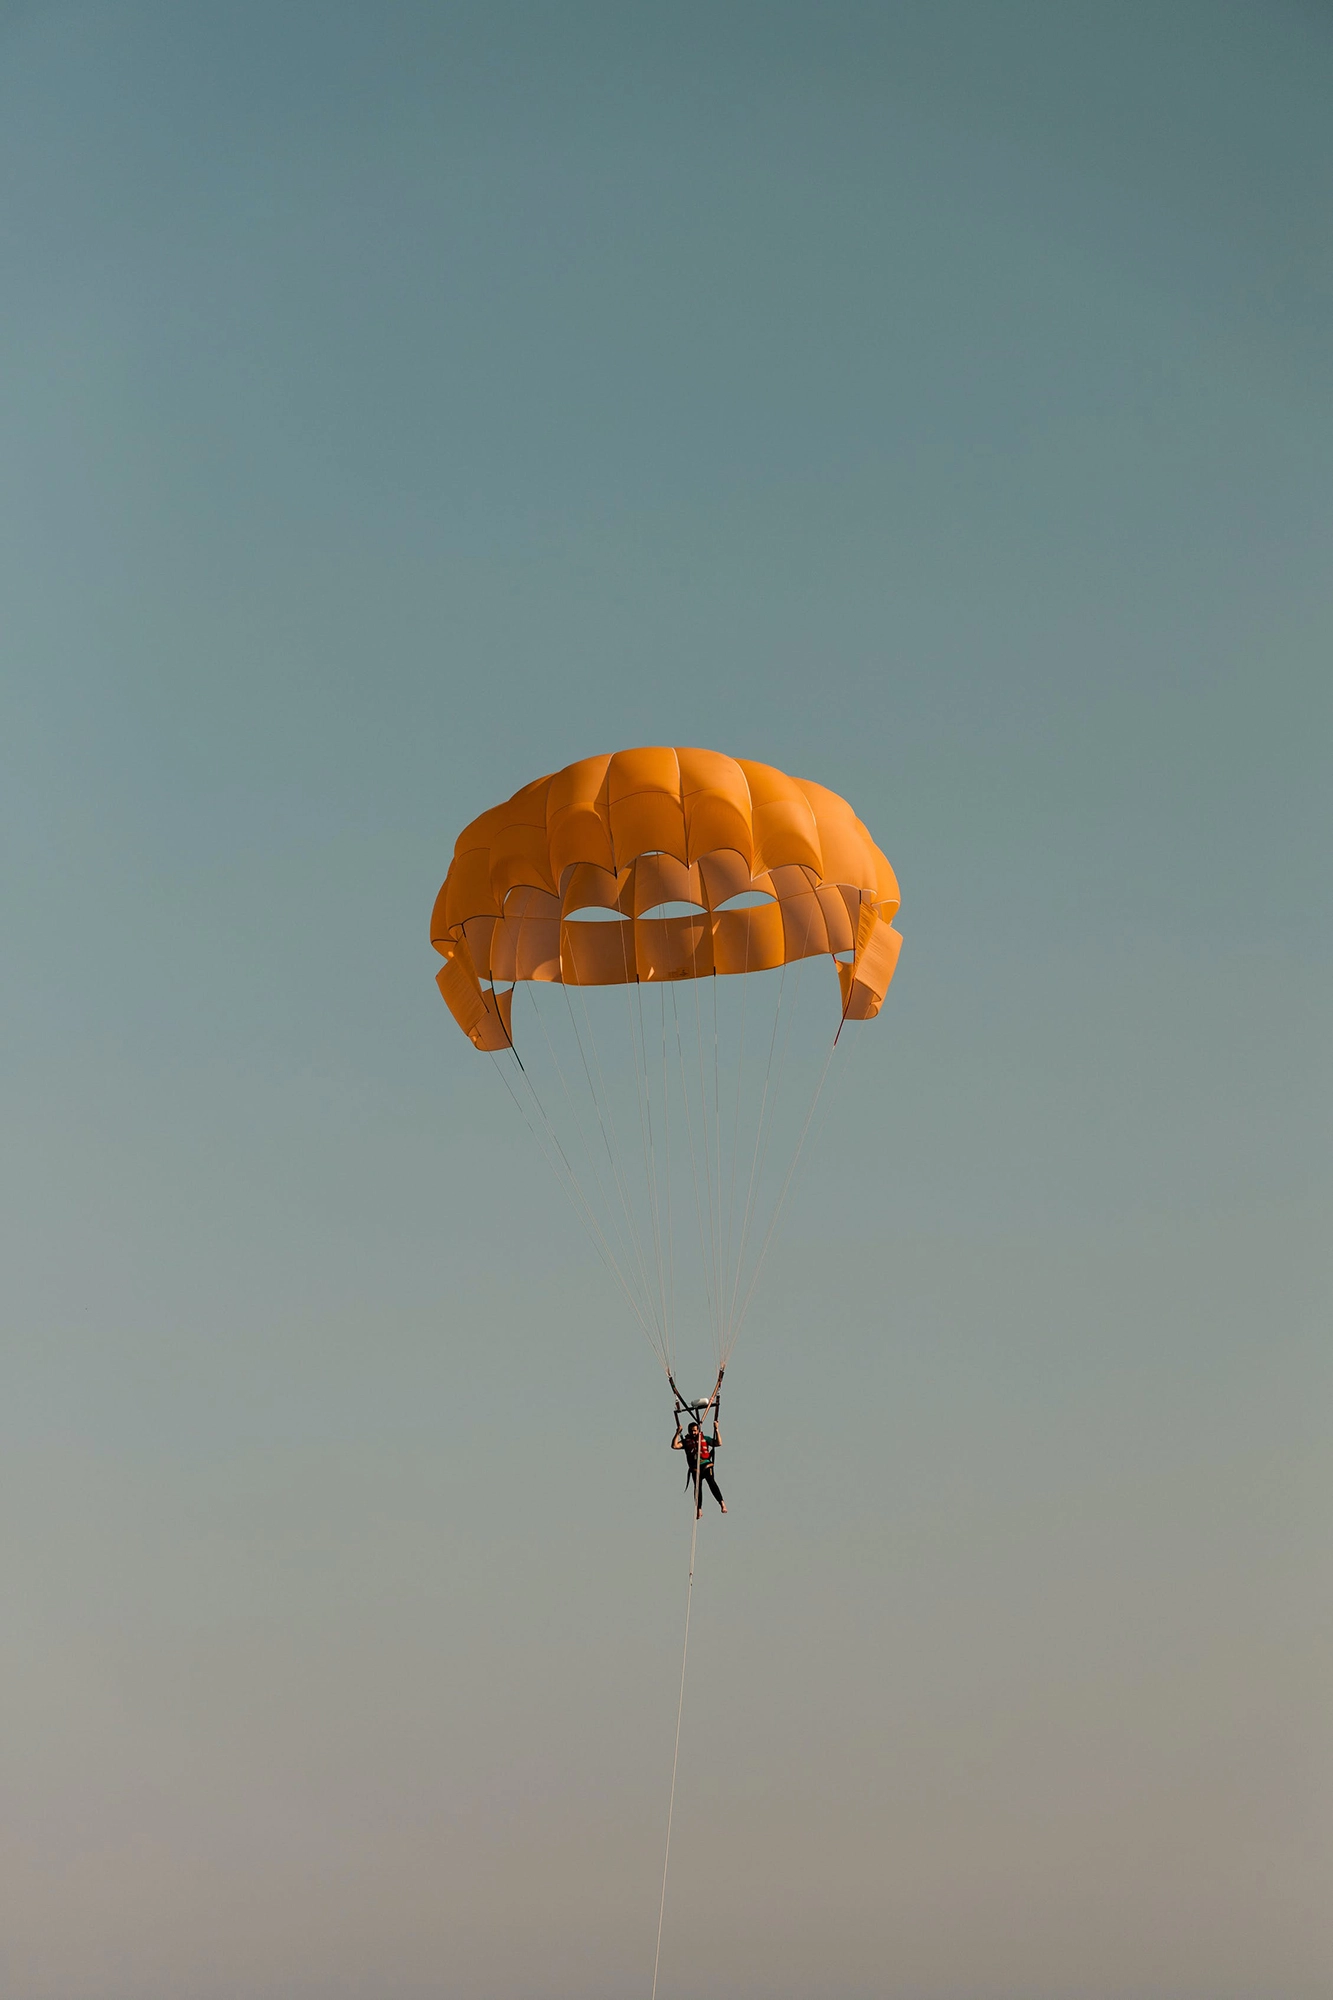
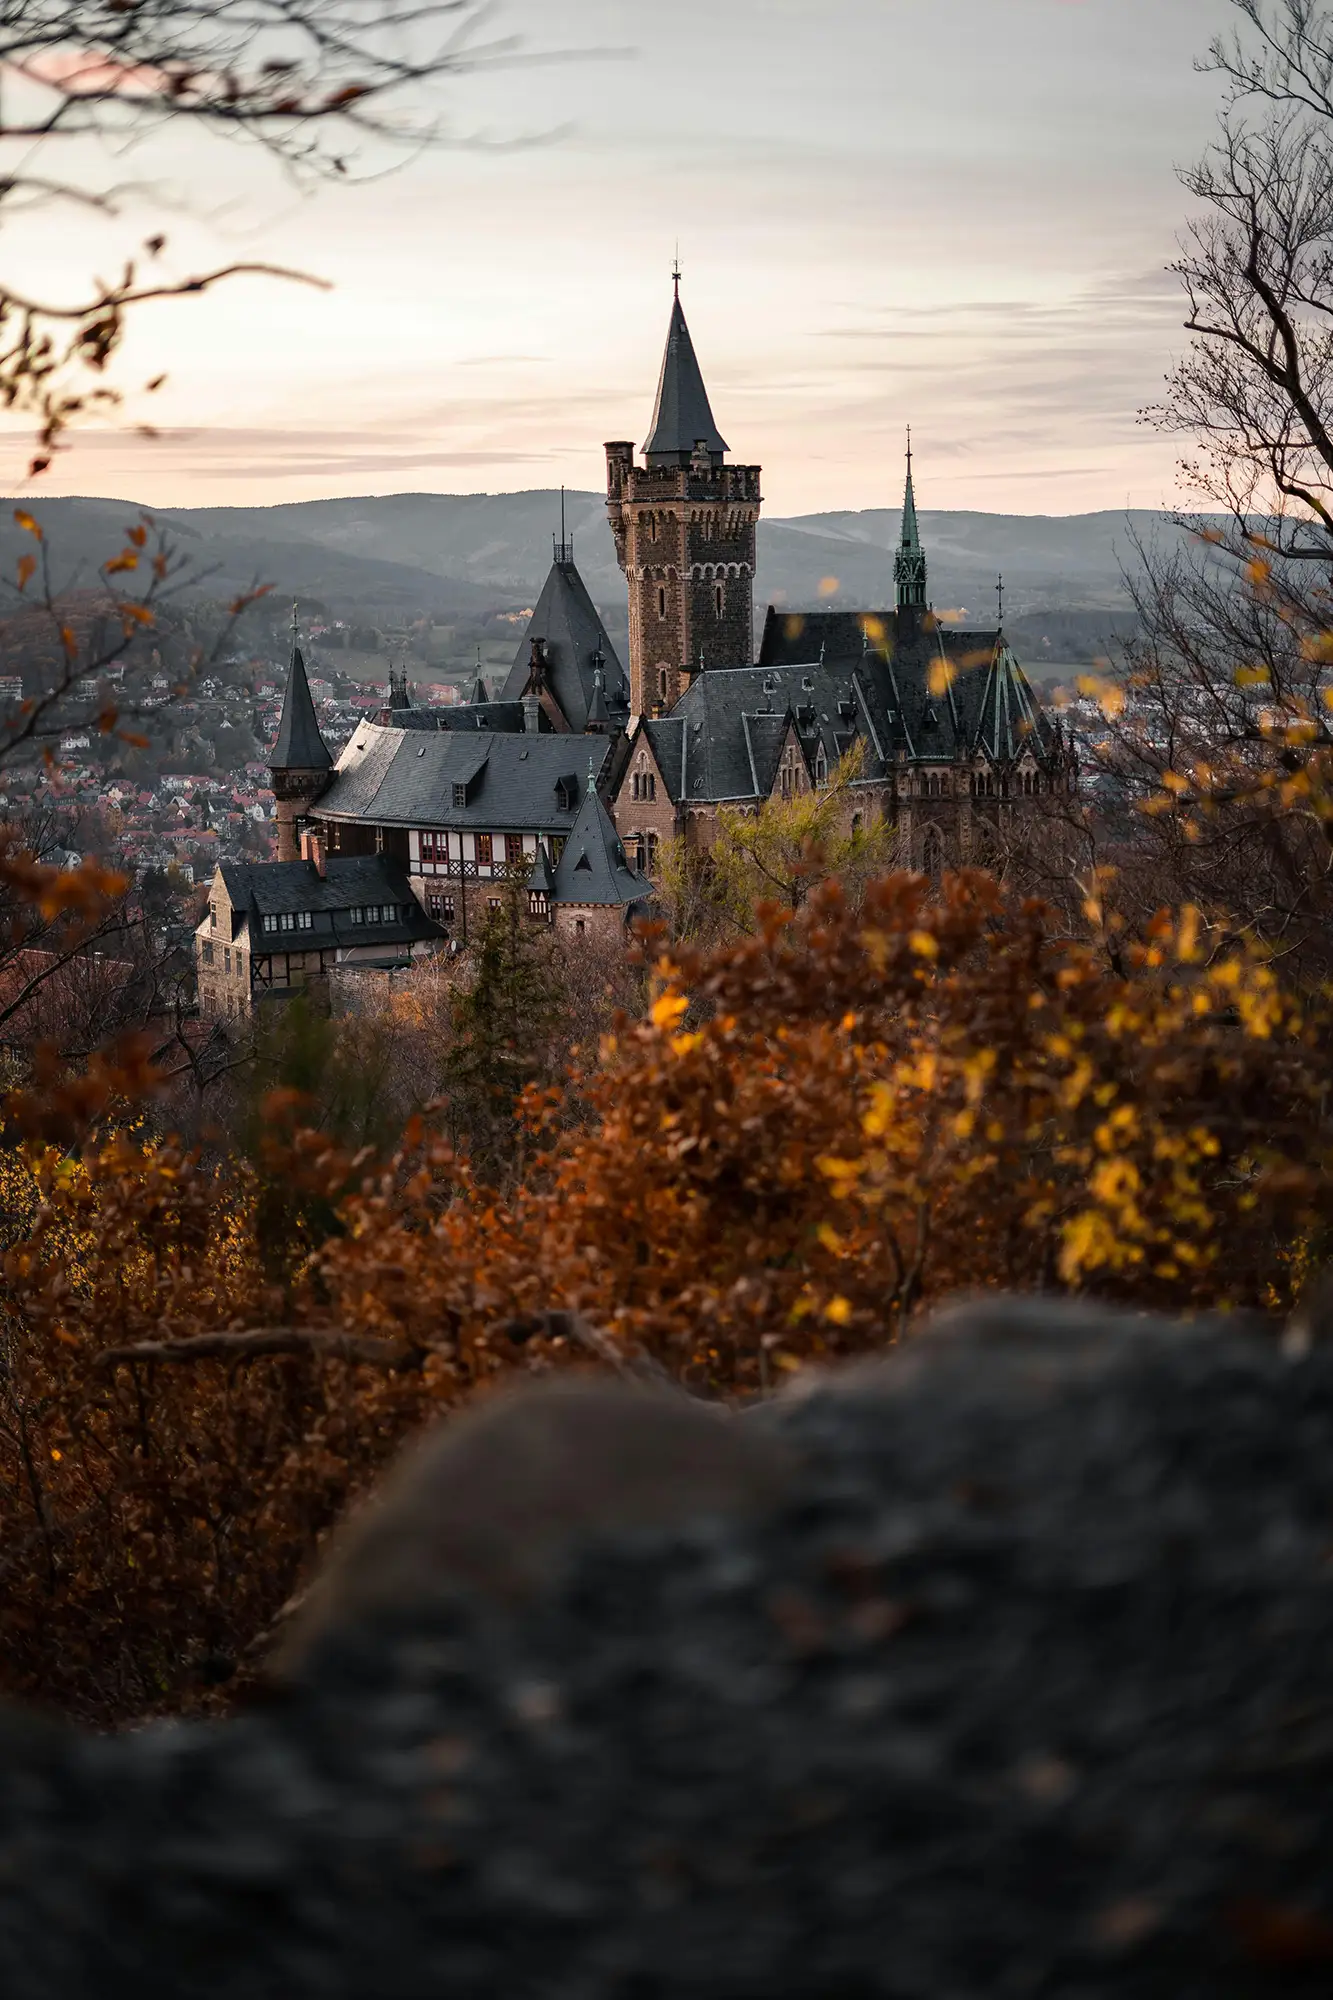
Minimalism in photography is an art form that focuses on simplicity and the deliberate use of space to convey a message or emotion. This guide explores how embracing minimalism can lead to powerful, thought-provoking images that resonate with viewers through their uncluttered and impactful compositions.

Understanding Simplicity and Minimalism

At its heart, minimalism is about stripping away the non-essential elements to highlight the beauty and uniqueness of the subject. It’s about finding strength in subtlety and conveying a narrative through the simplest of compositions.

Creative Process: Crafting Minimalist Photographs

  • Subject Selection: Choose subjects that stand out in their simplicity. Look for strong shapes, bold colors, or interesting textures.
  • Composition: Emphasize your subject by composing with plenty of negative space. Be intentional about what you include in the frame.
  • Lighting: Use lighting to enhance the mood. Minimalist photos often benefit from soft, natural light or dramatic contrasts.

Tips for Photographers

  1. Keep It Simple: Focus on one subject and remove any distracting elements from your frame.
  2. Pay Attention to Backgrounds: Choose backgrounds that are clean and unobtrusive to keep the focus on your subject.
  3. Experiment with Colors and Shapes: Use bold colors and simple shapes to create visually striking images.
  4. Practice Patience: Minimalist photography often requires patience to find the perfect subject or waiting for the right lighting conditions.

Advanced Techniques in Minimalist Photography

  • Abstract Minimalism: Create abstract compositions that focus on shapes, colors, and textures rather than specific subjects.
  • Monochromatic Themes: Experiment with monochromatic color schemes to enhance simplicity and focus.
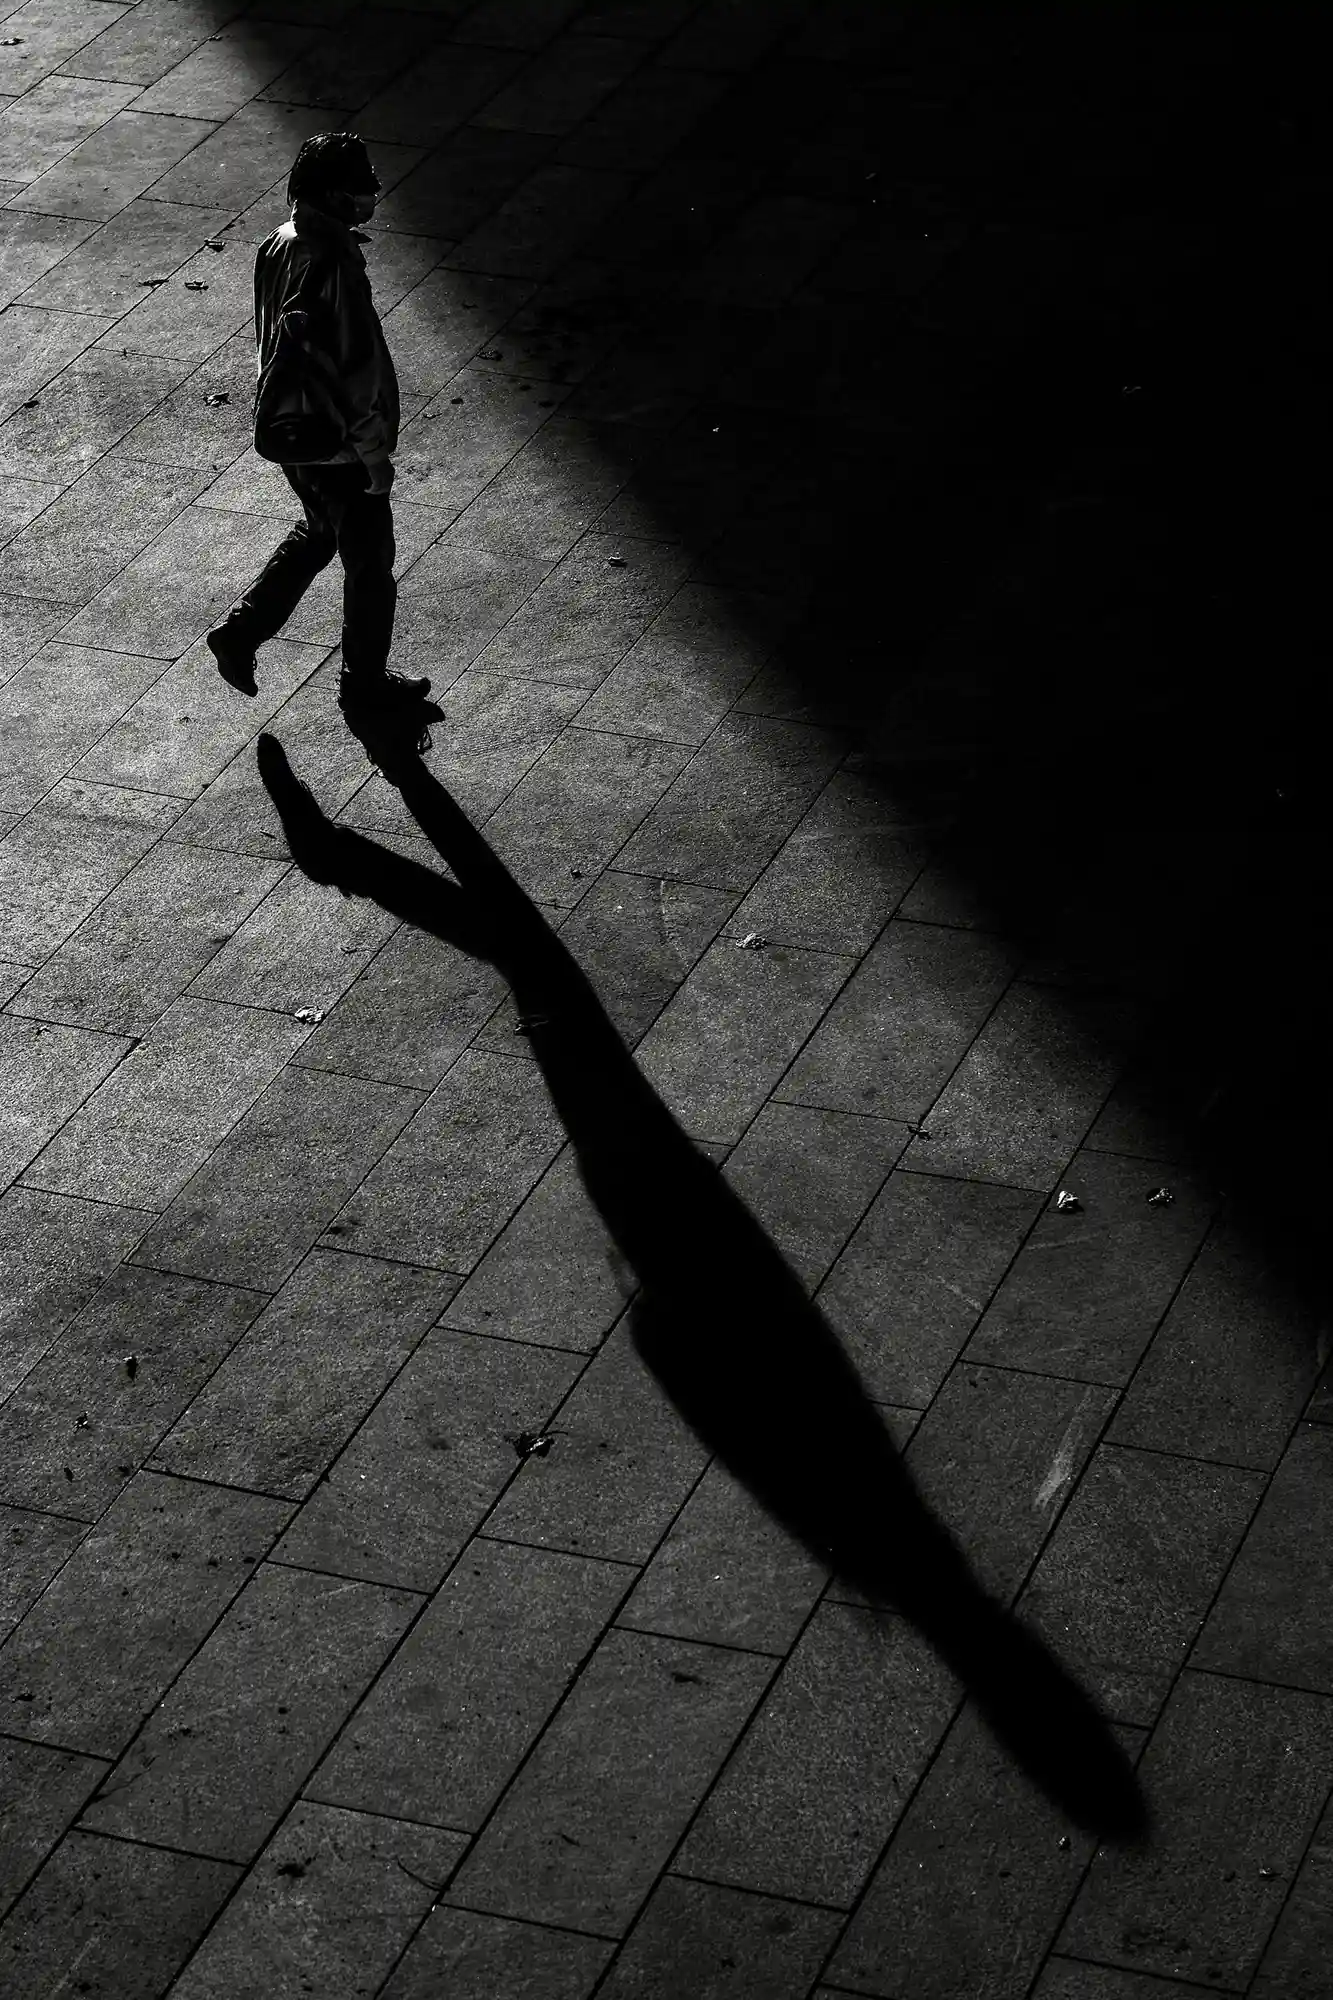
  • Reflections and Shadows: Use reflections and shadows creatively to add depth and interest to minimalist compositions.

Practical Applications in Various Genres

  • Portrait Photography: Capture close-ups with simple backdrops or use the subject’s features as the main focal point.
  • Landscape Photography: Find simplicity in vast, open spaces or focus on a single natural element.
  • Architectural Photography: Look for clean lines, geometric shapes, and contrasting textures in buildings and structures.

Conclusion: Embracing the Minimalist Approach

Minimalism in photography is about more than just taking pictures with few elements. It’s a mindset that values the beauty of simplicity and the power of understatement. By adopting a minimalist approach, photographers can create images that are both visually appealing and emotionally resonant.

O Carroll, B. (2016). 28 Composition Techniques That Will Improve Your Photos.

References

O Carroll, B. (2016). 28 Composition Techniques That Will Improve Your Photos. [online] PetaPixel. Available at:

https://petapixel.com/photography-composition-techniques/

[Accessed 13 December]

Leave Negative Space: The Art of Amazing Minimalism in Photography

Introduction: Embracing Simplicity through Negative Space

Negative space in photography refers to the areas around and between the subjects of an image – a concept that is central to minimalist photography. This guide will explore how negative space can be used to create powerful, visually appealing images that convey more with less.

Understanding Negative Space

Negative space, often just an open expanse of sky, water, an empty field, or a simple backdrop, provides breathing room for your subject. It shifts the focus to the essential elements of your composition, eliminating distractions and emphasizing the main subject.

Creative Process: Utilizing Negative Space

  • Scene Selection: Identify scenes where the background can be simplified, leaving more open space around your subject.
  • Composition and Placement: Place your subject in such a way that the negative space occupies a significant portion of the frame, creating a balanced yet minimalistic look.
  • Emphasizing Emotion: Use negative space to evoke emotion or a sense of solitude, peace, or even tension in your images.

Tips for Photographers

  1. Balanced Composition: Ensure that your use of negative space doesn’t unbalance the composition. The placement of your subject should feel intentional and harmonious.
  2. Color and Contrast: Utilize contrasting colors between the subject and the negative space for a striking effect.
  3. Simplicity Is Key: Keep the scene simple. The more clutter-free the negative space, the more impactful your subject will be.
  4. Experiment with Angles and Perspectives: Different angles can change the amount and perception of negative space, adding a unique feel to your images.

Advanced Techniques in Using Negative Space

  • Abstract Interpretation: Use negative space to create abstract compositions where the space itself becomes the subject.
  • Silhouettes and Shadows: Experiment with silhouettes and shadows against a large expanse of negative space for a dramatic effect.
  • Layering and Depth: Incorporate layers in your composition, using negative space to separate these layers and add depth.

Practical Applications in Various Genres

  • Landscape Photography: Use expansive skies or open fields as negative space to highlight natural features.
  • Portrait Photography: Apply negative space to focus attention on the subject, creating a sense of intimacy or solitude.
  • Urban Photography: Capture the architectural elements with the sky or empty spaces as negative space to emphasize form and structure.

Conclusion: The Power of Less in Photography

Negative space in photography is a powerful tool that, when used skillfully, adds a sophisticated and thoughtful dimension to your work. It’s about finding beauty in simplicity and conveying stories with minimal elements.

O Carroll, B. (2016). 28 Composition Techniques That Will Improve Your Photos.

References

O Carroll, B. (2016). 28 Composition Techniques That Will Improve Your Photos. [online] PetaPixel. Available at:

https://petapixel.com/photography-composition-techniques/

[Accessed 13 December]

Fill the Frame: Focusing on Amazing Photographic Details

Introduction: Embracing Detail with ‘Fill the Frame’

‘Filling the frame’ is a powerful photographic technique that involves using your camera frame to enclose a significant portion or all of a subject. This method is excellent for highlighting details, textures, and patterns, allowing the viewer to focus solely on the subject without distractions from the background or surrounding environment.

The Impact of Filling the Frame

This technique is particularly effective in drawing the viewer’s attention to specific details, creating a more intimate and immersive experience. It’s about isolating the subject, making it the undisputed focal point of your composition.

Creative Process: Mastering ‘Fill the Frame’

  • Choosing Your Subject: Look for subjects that have interesting details, textures, or patterns. These could range from the intricate lines on a leaf to the architectural details of a building.
  • Getting Close: Move closer to your subject or use a zoom lens to fill the frame with your subject. The goal is to eliminate as much of the background as possible.
  • Composition Considerations: Pay attention to the composition within your frame. The placement of your subject and how it interacts with the edges of your frame is crucial.

Tips for Photographers

  1. Use Macro Lenses for Close-Ups: Macro lenses are perfect for extreme close-up shots, allowing you to capture intricate details.
  2. Experiment with Aperture: Play with different aperture settings. A wide aperture can blur the background, while a narrow aperture can keep everything in focus.
  3. Mind the Edges: Be cautious of the edges of your frame. Clipping part of your subject can be a powerful tool but use it thoughtfully.
  4. Simplify: Avoid clutter in your frame. The more simplified and focused the composition, the more powerful the image.

Advanced Techniques in ‘Fill the Frame’

  • Selective Focusing: Use selective focus to emphasize a particular part of the subject while gently blurring the rest.
  • Creative Cropping: Don’t be afraid to crop your images in post-processing to achieve the desired ‘fill the frame’ effect.
  • Playing with Light: Use light and shadows creatively to add depth and dimension to your subject.

Practical Applications in Various Genres

  • Portrait Photography: Use ‘fill the frame’ to capture facial expressions or details like the eyes or lips.
  • Nature and Wildlife Photography: Fill the frame with a single animal or plant, highlighting its textures and features.
  • Urban and Street Photography: Capture the essence of street life or architectural details by filling the frame with your urban subject.

Conclusion: The Art of Detail in Photography

Filling the frame is more than just a technique; it’s an artistic approach to drawing the viewer’s eye into the heart of the subject. It’s about celebrating details, textures, and the essence of the subject itself.

Creating Visual Interest in Photography: Break The Pattern

Introduction: The Art of Disruption

Breaking the pattern in photography is an innovative technique that involves disrupting a repetitive element to create a focal point of interest. This guide explores how to effectively identify and break patterns, adding an element of surprise and intrigue to your images, thus elevating the overall visual appeal.

Understanding Pattern Breaking

Pattern breaking involves identifying a repetitive sequence or design and then introducing an element that contrasts with this established pattern. This contrast can be in form, color, texture, or concept, and it serves to draw the viewer’s eye directly to the point of disruption, creating a powerful and memorable image.

Creative Process: Implementing Pattern Breaking

  • Identifying Patterns: Start by finding scenes or subjects with a clear, repetitive pattern. This could be architectural elements, natural textures, or even arranged objects.
  • Finding the Disruptor: Look for or place an element that distinctly contrasts with the pattern. This could be a splash of color, a different shape, or an unexpected object.
  • Composition and Framing: Compose your shot to highlight the disruption. The contrast should be evident, but balanced within the overall composition.

Tips for Photographers

  1. Use Color Contrast: One of the simplest ways to break a pattern is with color. Introduce a contrasting color to instantly draw the eye.
  2. Play with Light and Shadow: Use lighting to create a break in the pattern, either through natural or artificial means.
  3. Focus on Details: Sometimes the smallest detail can effectively break a pattern. Pay attention to the nuances within your scene.
  4. Experiment with Perspective: Changing your perspective can turn a normal scene into one with a broken pattern, offering a fresh view.

Advanced Techniques in Pattern Breaking

  • Juxtaposition: Place two contrasting elements side by side to enhance the impact of the broken pattern.
  • Selective Focus: Use depth of field to isolate the disruptor, making it stand out against a blurred background.
  • Abstract Interpretation: Consider abstract ways to break patterns, such as disrupting symmetry or alignment.

Practical Applications in Various Genres

  • Street Photography: Look for opportunities to capture an individual or object that stands out in a uniform urban environment.
  • Nature Photography: Find or create disruptions in natural patterns, like a single red leaf among green foliage.
  • Architectural Photography: Highlight the unique feature that breaks the continuity in architectural designs or structures.

Conclusion: Elevating Composition Through Contrast

Mastering the art of breaking patterns allows photographers to create compelling and eye-catching images. It’s a technique that challenges the viewer’s expectations and adds depth to the photographic narrative.

Digital, P. (2021). 5 Ways to Break Photography Composition Rules

Photo By Kwaw Tun

References

Digital, P. (2021). 5 Ways to Break Photography Composition Rules. [online] ProGrade Digital, Inc. Available at:
https://progradedigital.com/rules-for-breaking-the-rules-of-composition-in-photography/

[Accessed 12 Dec. 2023]

Cultural patterns and textures in Rabat.

A Photographic Visual Harmony with Patterns and Textures

Introduction: The Allure of Patterns and Textures

Patterns and textures are ubiquitous elements that, when captured effectively, can transform a photograph into a mesmerizing piece of art. They bring a tactile and rhythmic quality to images, offering visual harmony and a deeper connection to the subject. This guide delves into how to skillfully use patterns and textures in photography to enhance the overall impact of your compositions.

Understanding Patterns and Textures

Patterns are repetitive elements that create a sense of order and rhythm, while textures highlight the surface quality and details, adding depth and interest. From the natural lines on a leaf to the intricate designs of urban architecture, patterns and textures are everywhere, waiting to be explored through your lens.

Cultural patterns and textures in Rabat.

Creative Process: Capturing Patterns and Textures

  • Observing Your Surroundings: Begin by training your eye to notice patterns and textures around you. They can be found in both natural and man-made environments.
  • Composition and Framing: Consider how the pattern or texture fits within your frame. Fill the frame for an immersive effect or use them as part of a larger composition to add context.
  • Lighting and Perspective: Play with lighting and shadows to enhance textures and experiment with different angles and perspectives to showcase patterns in unique ways.

Tips for Photographers

  1. Macro Photography for Detail: Use macro photography to capture intricate textures, bringing out the fine details.
  2. Contrast and Color: Utilize contrast and color to make patterns stand out and catch the viewer’s eye.
  3. Simplifying the Scene: If using a busy pattern, simplify the rest of the scene to avoid overwhelming the viewer.
  4. Post-Processing: Enhance patterns and textures in post-processing, but be careful not to overdo it, as it might look unnatural.

Advanced Techniques in Using Patterns and Textures

  • Symmetry in Patterns: Use symmetry to create balance and harmony in compositions that feature patterns.
  • Textures as Leading Elements: Allow textures to lead the viewer’s eye to the main subject of your photograph.
  • Abstract Photography: Experiment with patterns and textures for abstract photography, focusing on form and color over the subject.

Practical Applications in Various Genres

  • Landscape Photography: Capture the repetitive patterns of nature or the varied textures of landscapes to add depth and interest.
  • Urban Photography: Explore the rhythmic patterns in architecture or the gritty textures of urban decay.
  • Portrait Photography: Use patterns and textures in the background or clothing to add depth and context to your portraits.

Conclusion: A World of Visual Rhythms

Embracing patterns and textures in photography opens up a world of visual rhythms and tactile qualities that can significantly enhance your photographic practice. Whether it’s the grand pattern of a landscape or the intricate texture of a close-up shot, these elements can transform your images into visually harmonic stories.

Layered framing in Maynooth, Ireland.

Frame Within the Frame: Depth Through Layers in Photography

Introduction: The Art of Framing in Composition

Framing within a frame is a compelling compositional technique that involves using elements within your scene to create a ‘frame’ around your subject. This method adds depth, context, and intrigue to your photographs, turning ordinary scenes into layered stories.

Understanding ‘Frame Within a Frame’

This technique is all about using elements in your environment, such as windows, doorways, arches, or even natural elements like tree branches, to create a secondary frame within your photograph. This inner frame leads the viewer’s eye to the primary subject, enhancing the narrative and depth of the image.

Framed view of St Mark's Square, Venice.

O Carroll, B. (2016). 28 Composition Techniques That Will Improve Your Photos.

Creative Process: Implementing Framing Techniques

  • Identifying Framing Elements: Start by scouting for natural or architectural elements that can act as frames in your composition.
  • Positioning Your Subject: Place your subject in a way that the framing element encapsulates or complements it, creating a focus point.
  • Experimenting with Perspectives: Change your angle and perspective to see how different frames can alter the story or mood of your image.

Tips for Photographers

  1. Look for Unique Frames: Beyond windows and doors, look for unique framing opportunities like gaps in fences, reflections, or shadows.
  2. Play with Light and Shadow: Use light and shadows within your frame to add mood and emphasize your subject.
  3. Depth of Field: Experiment with different apertures to either blur the frame for a subtle effect or keep it sharp for a more pronounced framing.
  4. Balancing Elements: Ensure your frame complements the subject without overpowering it. The frame should lead to the subject, not distract from it.

Advanced Techniques in Framing

  • Multiple Layers: Incorporate multiple layers of framing for a more complex and intriguing composition.
  • Reflections as Frames: Use reflections in water, mirrors, or glass to create a unique framing effect.
  • Contrasting Elements: Combine contrasting elements within your frame and subject for a dramatic effect.

Practical Applications in Various Genres

  • Landscape Photography: Use tree branches or rock formations to frame a stunning vista or a setting sun.
  • Urban Photography: Urban environments are rich with framing opportunities like bridges, tunnels, and building facades.
  • Portrait Photography: Frame your subject with environmental elements to add context and depth to your portraits.

Conclusion: Refining Your Photographic Eye

Mastering the ‘Frame Within a Frame’ technique is a journey towards refining your photographic eye and enhancing your ability to tell stories through images. It requires practice, creativity, and an attentive observation of your surroundings.

References

O Carroll, B. (2016). 28 Composition Techniques That Will Improve Your Photos. [online] PetaPixel. Available at:

https://petapixel.com/photography-composition-techniques/

[Accessed 12 Dec. 2023]

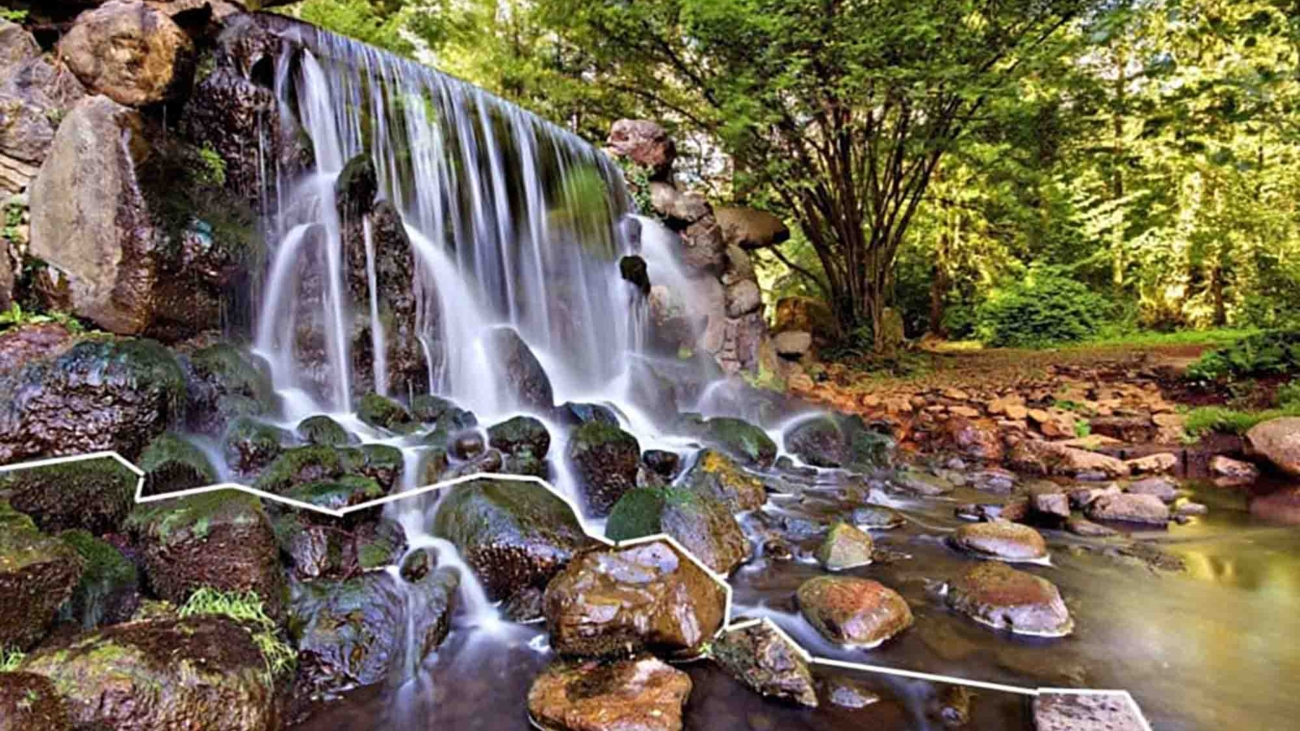
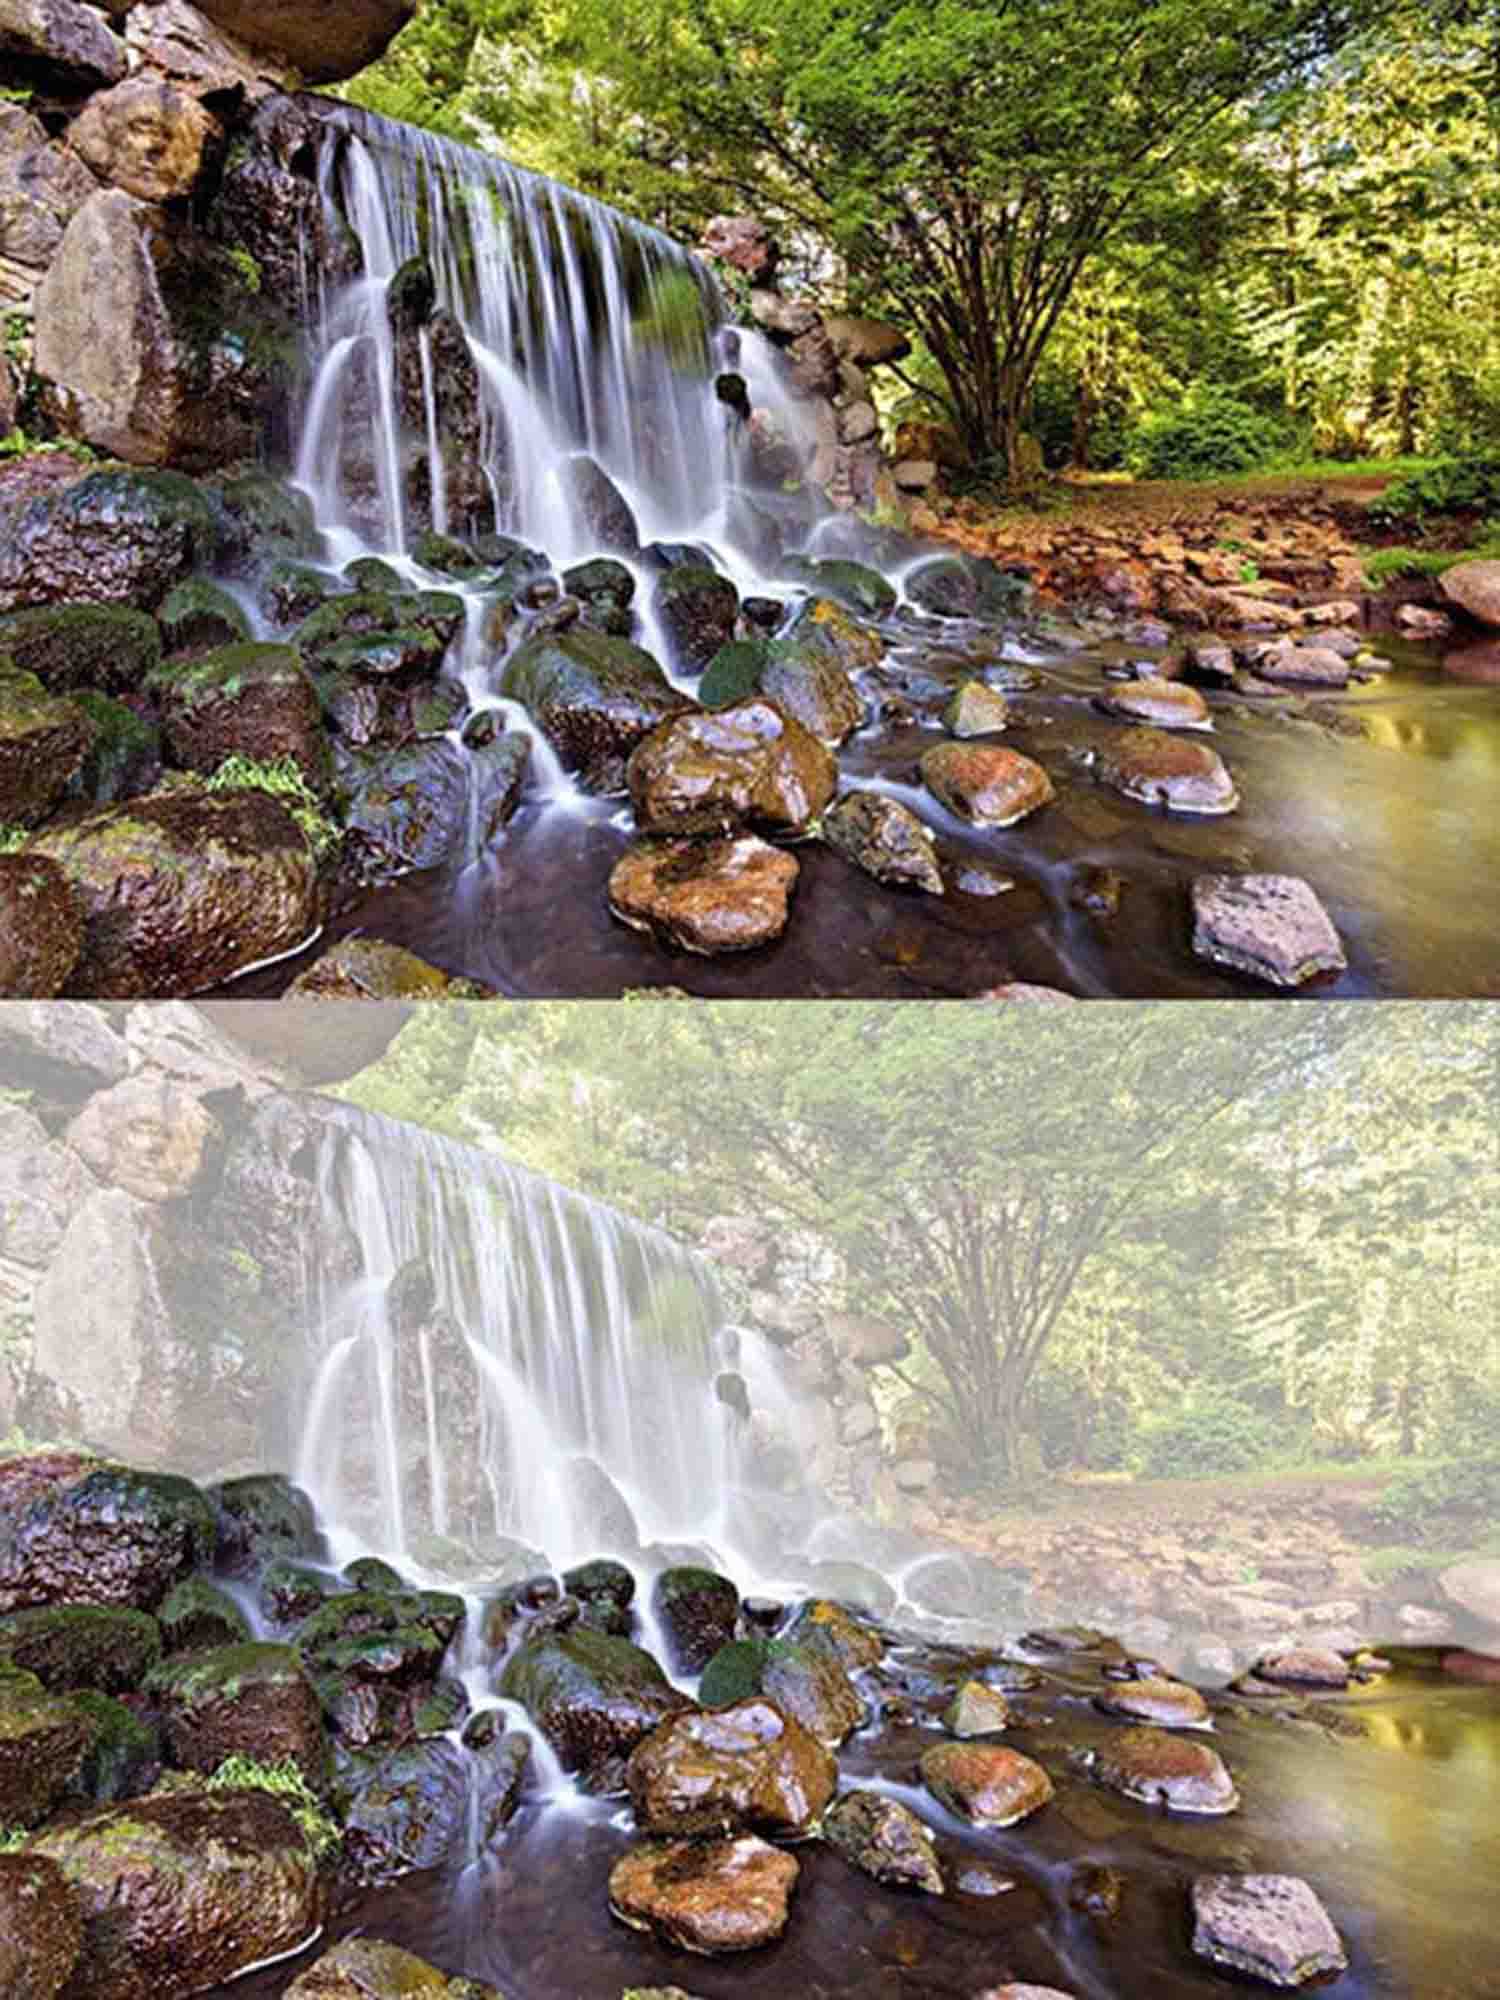
3D effect at Sonsbeek Waterfall, Arnhem.

Foreground Interest and Depth: Mastering the 3D Photography Effect

Introduction: The Magic of Depth in Photography

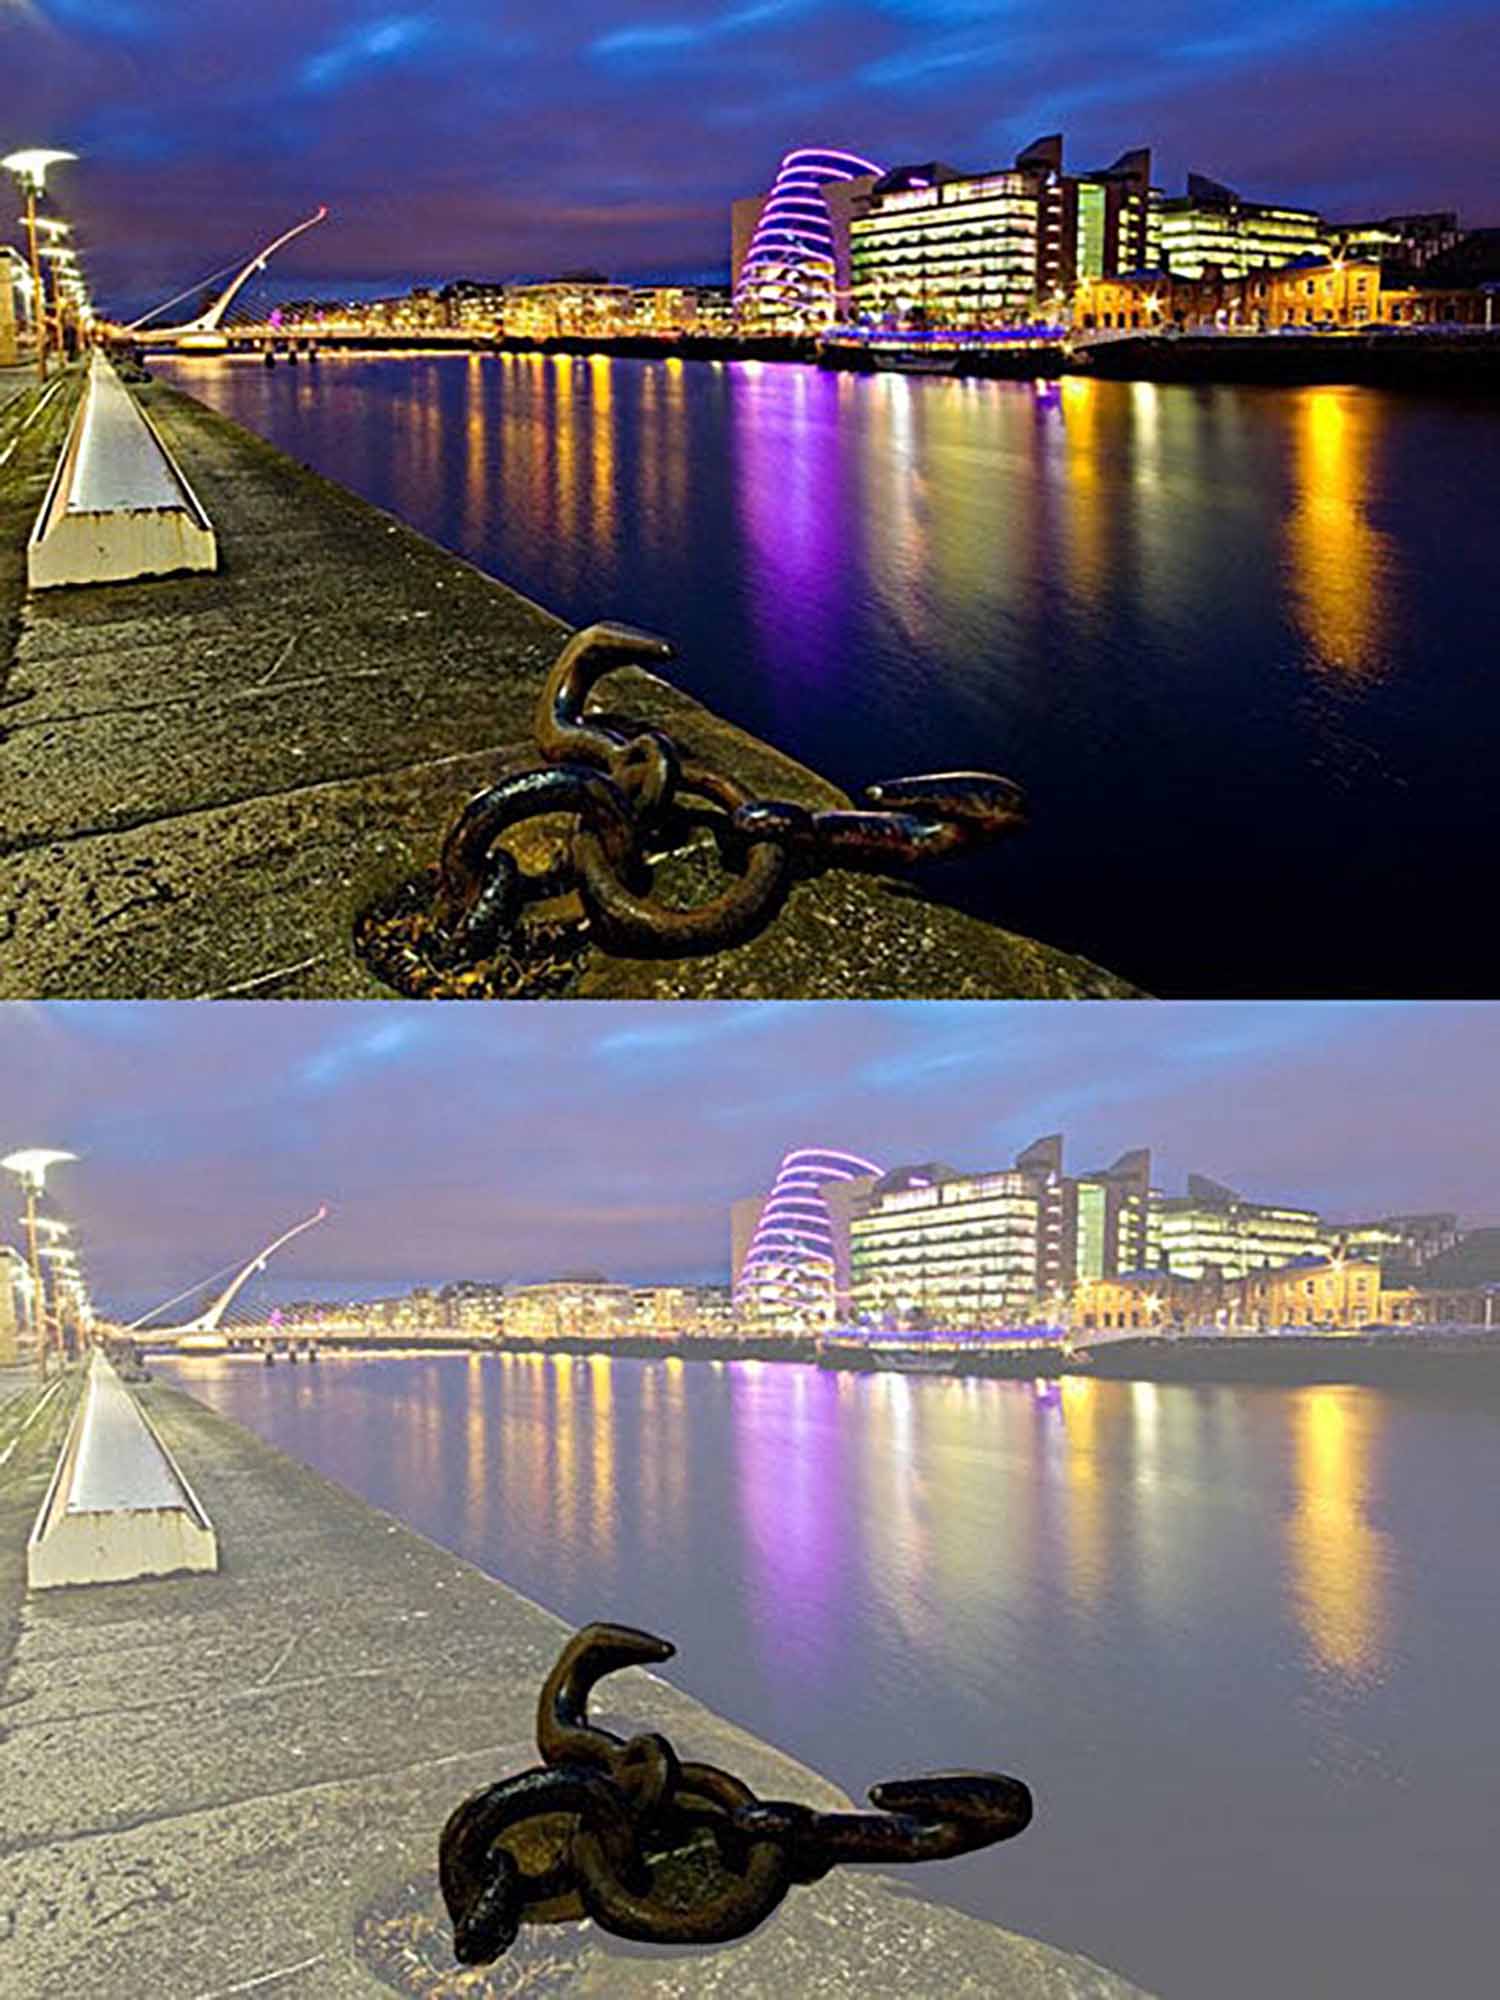
Foreground interest is a powerful compositional tool in photography that adds depth, leading to more dynamic and engaging images. By incorporating elements in the foreground, photographers can create a sense of three-dimensionality, drawing viewers into the scene. This technique is vital in transforming flat images into vivid, life-like experiences.

Understanding Foreground Interest and Depth

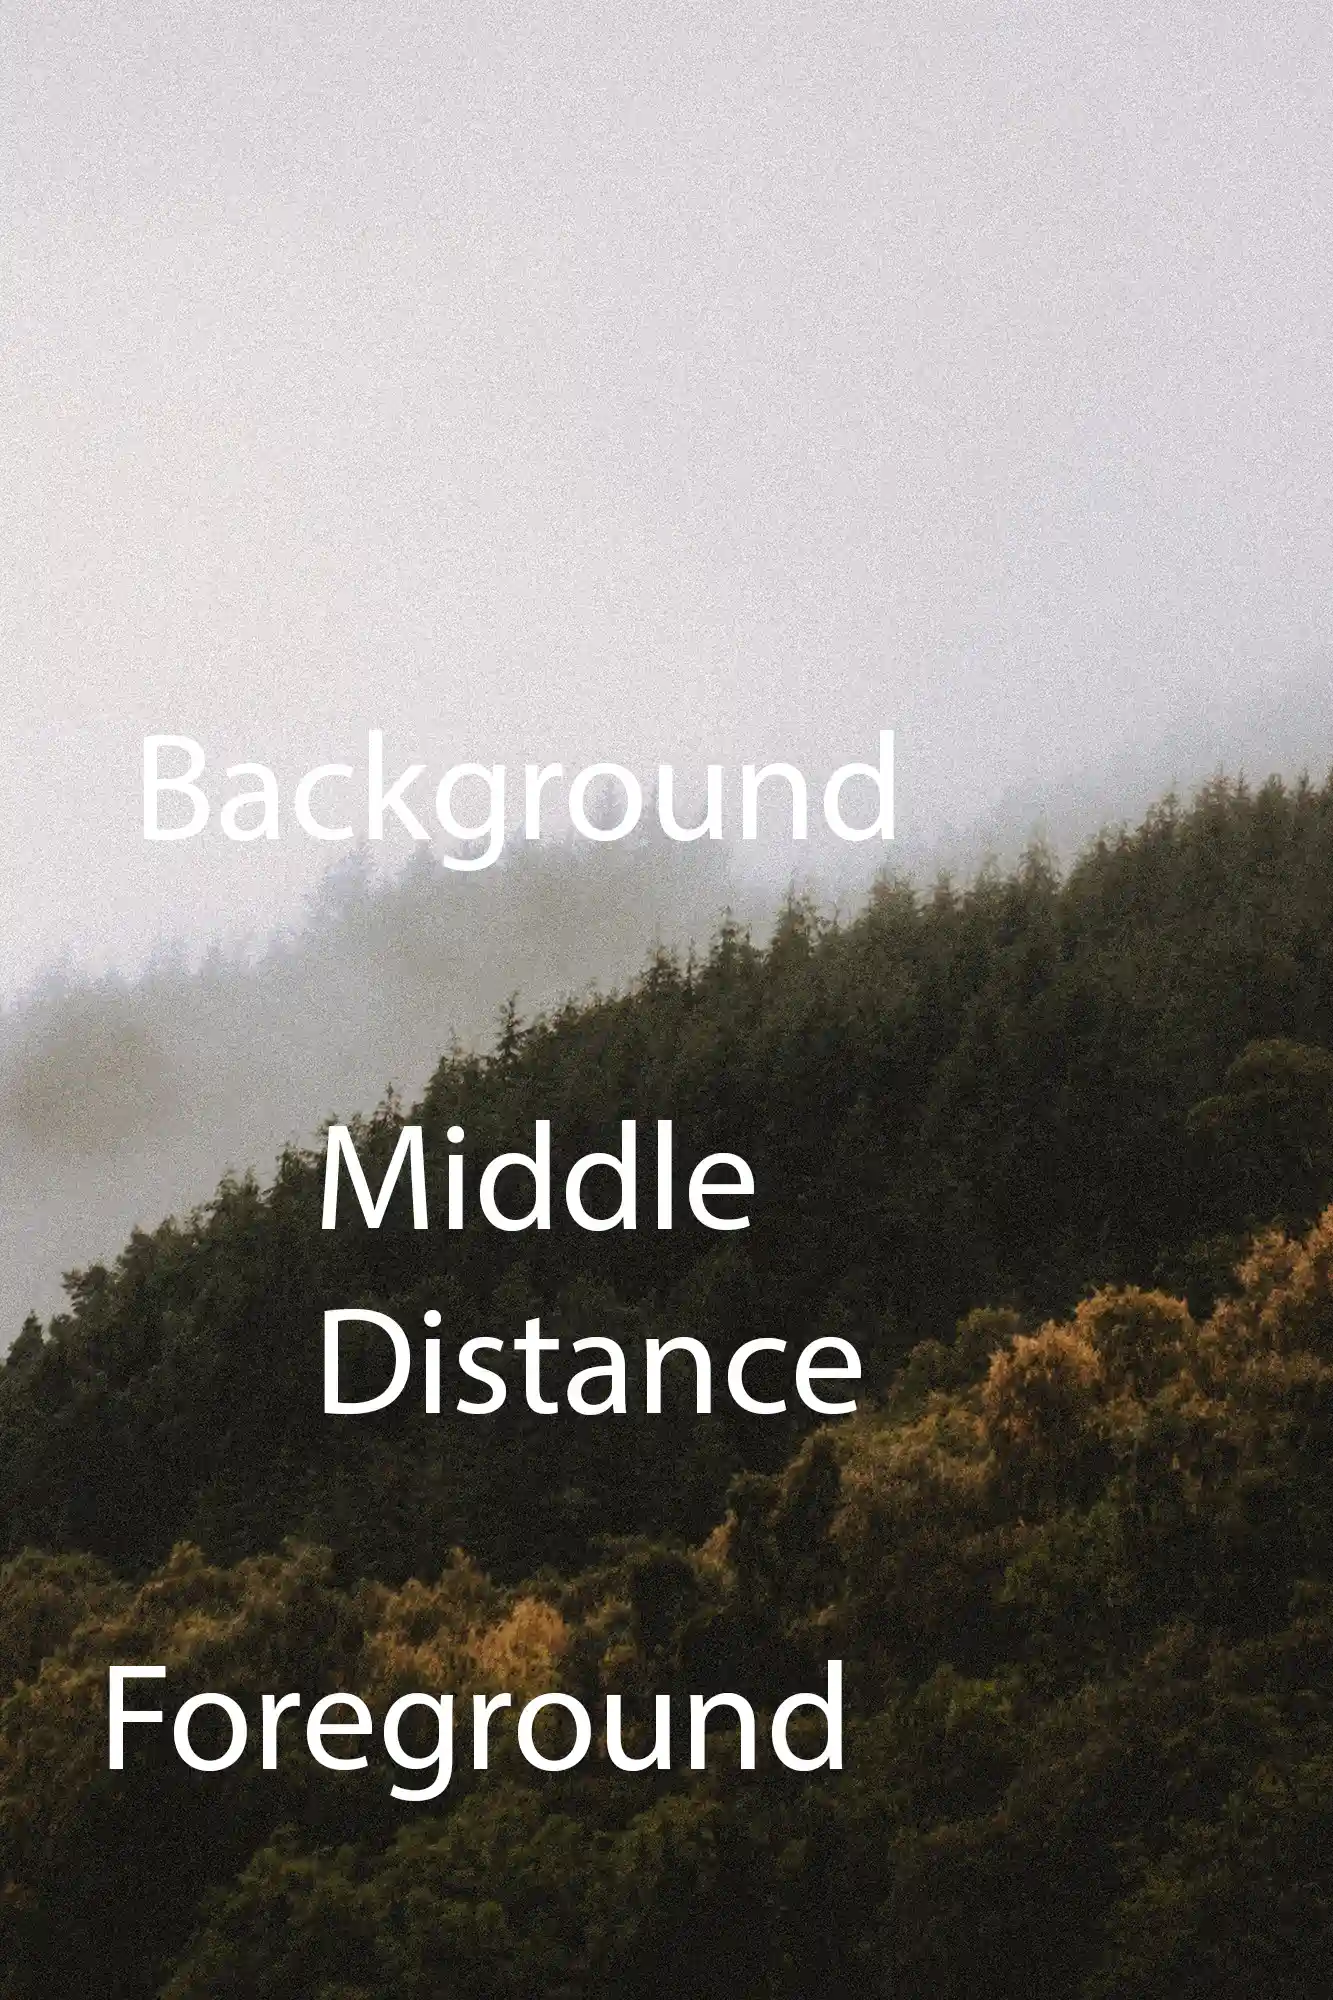
Foreground interest involves strategically placing objects or elements in the lower part of your frame, which are closer to the camera compared to the main subject. This layering technique not only adds depth but also helps in guiding the viewer’s eye through the image, creating a narrative and a sense of space.

3D effect at Sonsbeek Waterfall, Arnhem.

O Carroll, B. (2016). 28 Composition Techniques That Will Improve Your Photos.

Creative Process: Implementing Foreground Interest

  • Identifying Elements: Look for elements that can serve as interesting foreground subjects – rocks, flowers, urban artifacts, or even shadows and light patterns.
  • Composition and Placement: Place these elements in a way that they lead the eye towards the main subject. The placement should feel natural and not forced.
  • Balancing the Scene: Ensure that your foreground interest complements the scene and doesn’t overpower the main subject.

Tips for Photographers

  1. Wide-Angle Lenses: Use wide-angle lenses to exaggerate the sense of depth. They are excellent for capturing both the foreground interest and the background.
  2. Aperture Settings: Experiment with aperture settings. A smaller aperture (higher f-number) keeps both the foreground and background in focus.
  3. Trial and Error: Not every element makes good foreground interest. Experiment with different objects and see how they affect the scene.
  4. Focus Stacking: In landscapes, try focus stacking to keep the foreground and the distant background sharp.

Advanced Techniques in Using Foreground Interest

  • Leading Lines: Use natural or urban leading lines in the foreground to guide the viewer’s eye towards the main subject.
  • Framing the Subject: Elements in the foreground can act as a frame, subtly enclosing the main subject for added depth and focus.
  • Reflections as Foreground: In water bodies, reflections can serve as an interesting foreground, adding symmetry and depth.

Practical Applications in Various Genres

  • Landscape Photography: Use rocks, flowers, or foliage in the foreground to add depth to scenic views.
  • Urban and Street Photography: Urban elements like pavement patterns, street furniture, or even a passerby can serve as engaging foregrounds.
  • Macro Photography: In macro photography, a shallow depth of field can make the foreground elements blur into beautiful bokeh, adding depth.

Conclusion: Elevating Your Photographic Perspective

Incorporating foreground interest is a skill that elevates your photographic perspective, transforming ordinary scenes into captivating stories with depth and dimension. It requires practice, a keen eye for detail, and an understanding of how different elements in a scene interact with each other.

3D depth in Dublin's urban landscape.

O Carroll, B. (2016). 28 Composition Techniques That Will Improve Your Photos.

References

O Carroll, B. (2016). 28 Composition Techniques That Will Improve Your Photos. [online] PetaPixel. Available at:

https://petapixel.com/photography-composition-techniques/

[Accessed 12 Dec. 2023]

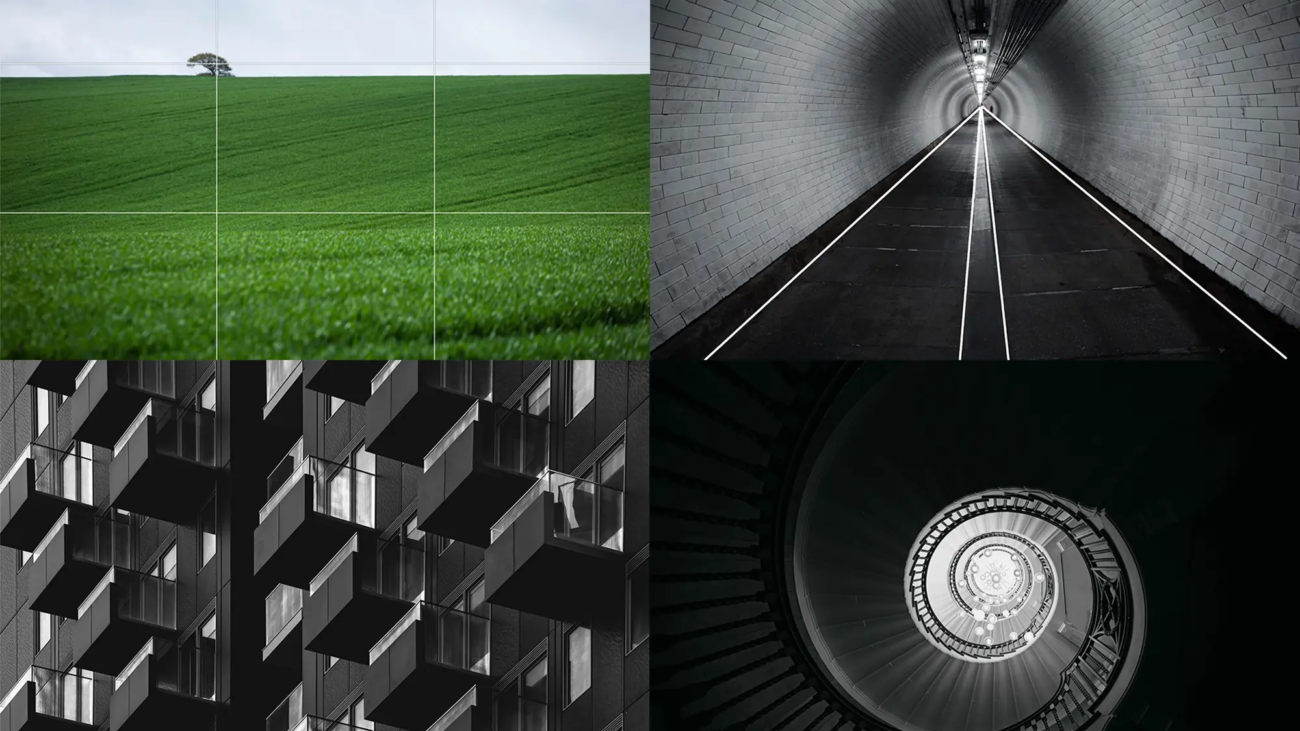
Example of photographic composition rules.

Capturing the Essence: 28 Composition Secrets for Stunning Photography

Introduction to Composition in Photography

Photography is more than capturing moments; it’s about crafting stories through imagery. This guide delves into 28 advanced composition techniques that are essential for any photographer aiming to elevate their work into the realm of art. Each technique is not just a method but a doorway into a new way of seeing and capturing the world around us.

1. Rule of Thirds

Imagine the viewfinder of your camera is a canvas divided by two equally spaced horizontal and vertical lines, creating nine squares. This grid guides where you place your subject for optimal aesthetic balance. The rule of thirds is foundational in photography, providing a simple yet effective blueprint for capturing engaging images. It nudges the photographer to avoid placing the subject directly in the center, which can often result in static, less engaging compositions. Instead, by aligning the subject with these guidelines—perhaps an eye in portrait photography at an intersection point—the viewer’s gaze flows more naturally across the image, lending a dynamic quality even to still life.

2. Centered Composition and Symmetry

Symmetry brings a sense of balance and harmony that is deeply pleasing to the human eye. A centered composition works exceptionally well in scenes where symmetry is the soul of the image—think reflections in water, a long hallway, or a lone tree in the center of a field at sunrise. This technique is about finding the invisible lines that tie everything together into a coherent whole, where the balance of elements provides stability and tranquility to the image. It’s particularly powerful in architectural photography, where the deliberate alignment of structural elements creates a majestic and imposing effect, drawing the viewer into a geometrically satisfying experience.

Elegance of symmetry in Leytonstone.

3. Foreground Interest and Depth

Adding elements to the foreground of your photograph can transform a flat scene into a multi-dimensional spectacle, guiding the viewer’s eye from the front all the way to the back. This technique is crucial in landscape photography, where the inclusion of rocks, plants, or even a pathway can create a sense of depth that makes the viewer feel as if they could step into the photograph. It’s about layering the elements in a way that not only tells a story but also constructs a world within the frame. This method encourages exploring different angles and positions, looking for ways to incorporate the environment into a more compelling narrative.

3D effect mastery by Darwis Alwan.

4. Frame Within a Frame

This technique involves using elements within the scene to create a frame around your main subject, which helps isolate the subject and draw attention directly to it. It could be as simple as a window frame or as complex as branches arching over a path. This compositional tool not only focuses the viewer’s attention but also adds context, enriching the narrative of the image. It’s a powerful way to compose a shot in both urban and natural environments, offering a glimpse into the world of your subject. The frame within a frame invites the viewer to peer into a different part of that world, creating a picture within a picture, each layer adding to the depth of the story.

Depth through layers in London architecture.

5. Leading Lines

Imagine lines that draw your viewer deeper into the image, guiding their gaze across the composition. These can be roads, fences, shorelines, or even architectural elements. Leading lines are powerful compositional tools because they control the viewer’s journey through the image. They create a pathway to follow, connecting the foreground to the background in a smooth visual flow that enhances the narrative structure of the photograph. Whether it’s a winding river in a landscape or a street extending into the urban jungle, leading lines not only show depth but also suggest continuity beyond the frame.

Leading lines in Greenwich, London.

6. Diagonals and Triangles

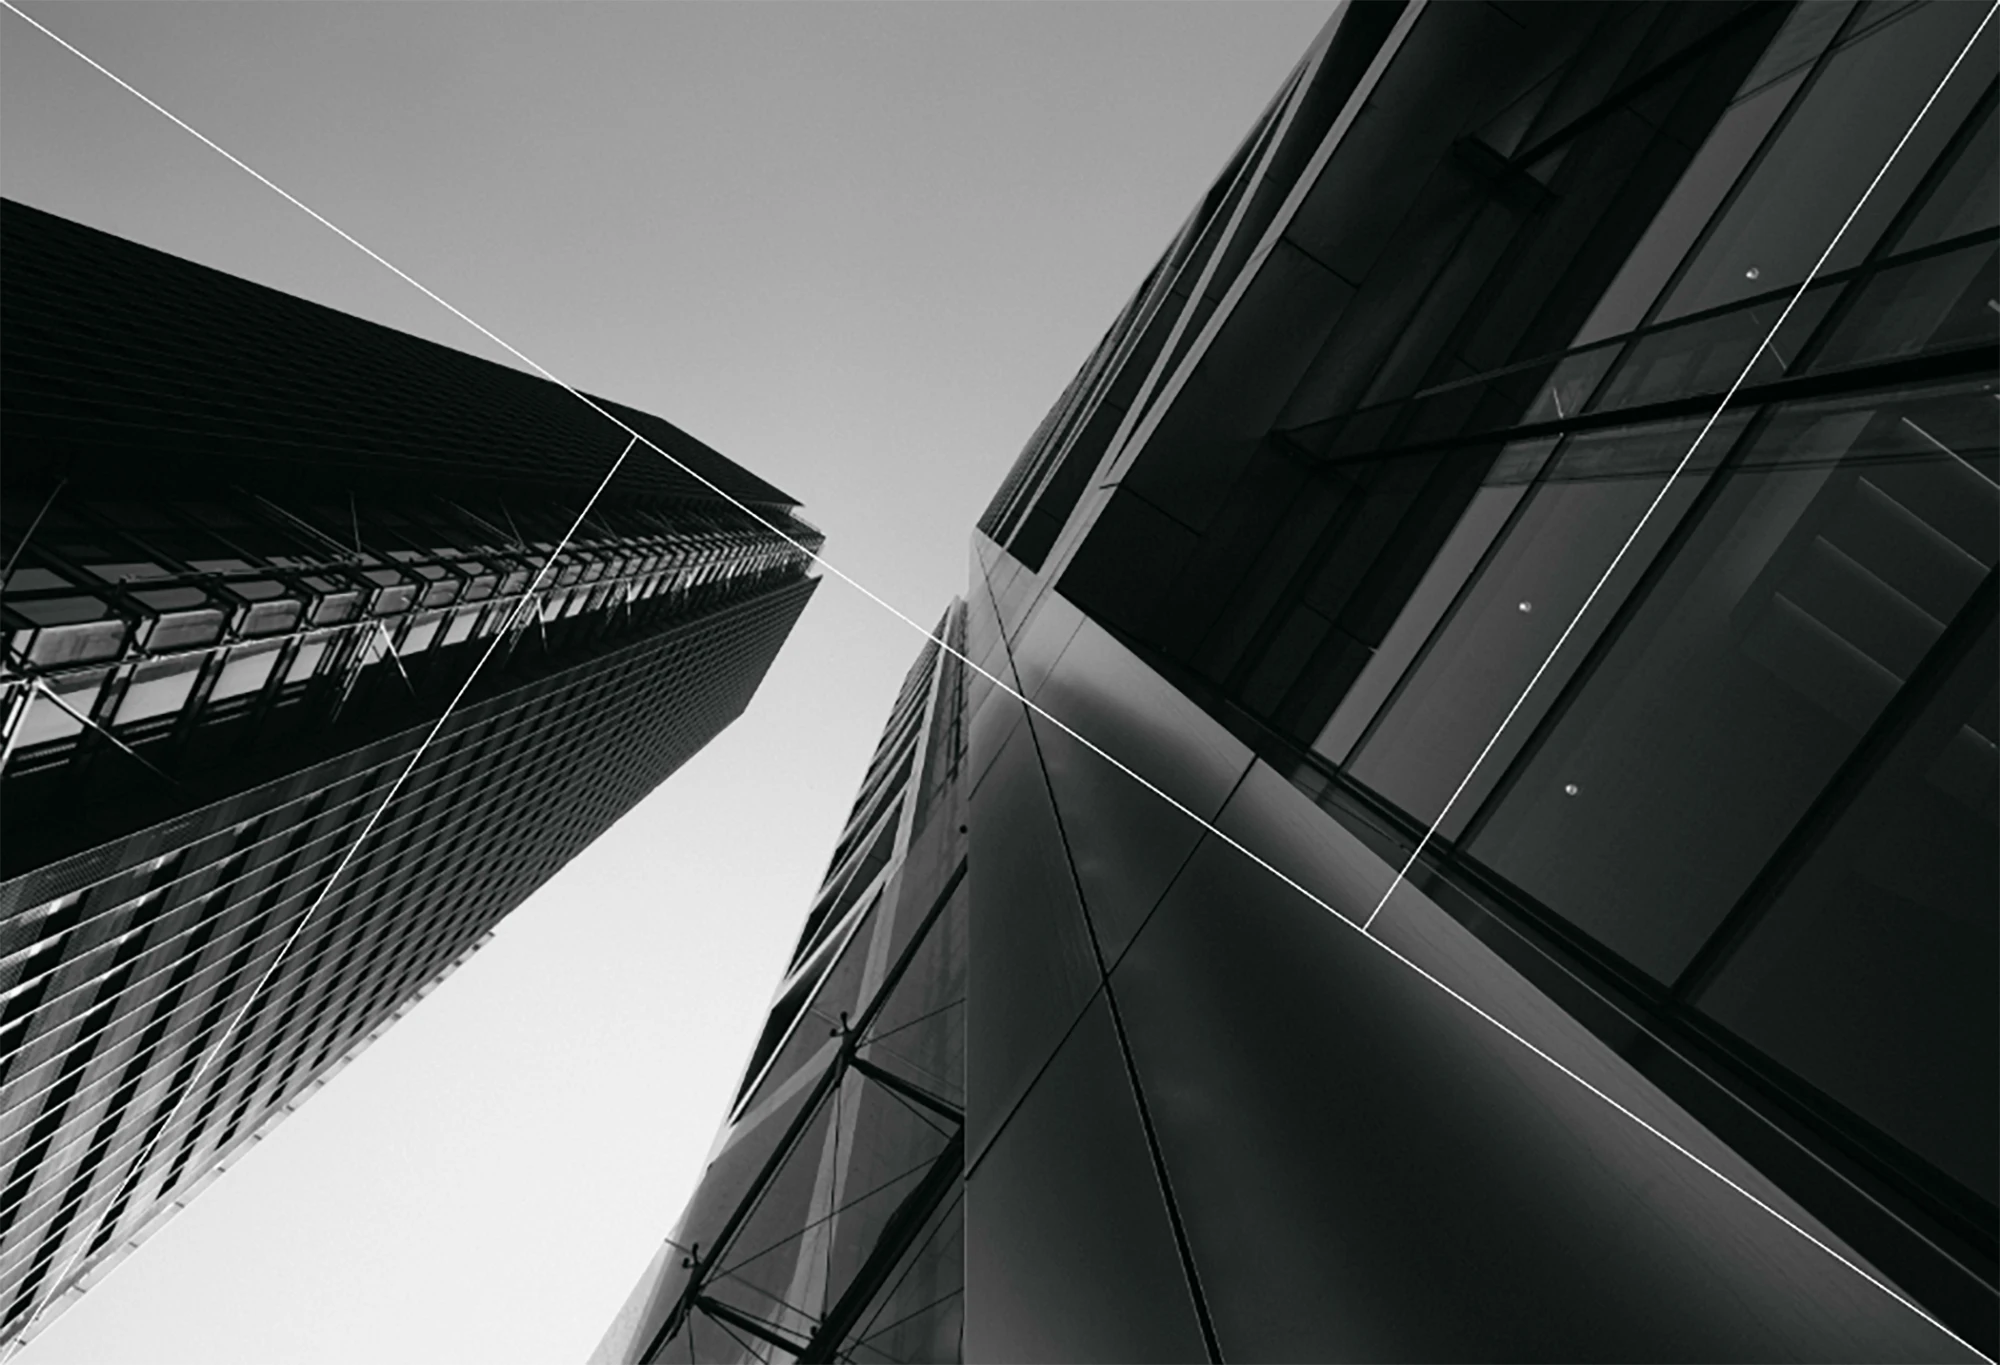
Diagonal lines create movement and excitement, propelling the viewer’s eye across the image and adding a dynamic element to your compositions. Triangles, whether real or implied, bring a sense of stability and focus. This technique involves identifying and leveraging these shapes to enhance the structural composition of your images. In a chaotic street scene, for instance, a diagonal line can be the crossing path of a pedestrian, while triangles might be formed by the visual connection of people and objects, creating a sense of harmony and balance amidst the disorder.

Dynamic tension by Jeffrey Riley.

7. Patterns and Textures

Our eyes are naturally drawn to patterns and textures; they can add a captivating element to your photographs. Patterns provide a rhythm, while textures highlight the quality of surfaces under different lighting conditions. This technique is about recognizing and framing these elements to enhance the tactile and visual experience of the viewer. In nature photography, capturing the repetitive patterns of a forest canopy or the intricate textures of a leaf can make the image come alive, providing a window into the complexity of natural designs.

Visual harmony at Liverpool Street.


8. Break the Pattern

While patterns can attract, breaking them can intrigue. Introducing an anomaly within a repetitive pattern grabs attention and adds a layer of interest. This could be a splash of color in a monochrome setting, an irregular shape in a line of uniform objects, or a human element disrupting a series of impersonal architectural features. This technique is about finding the break that challenges the expectation, turning what could be a mundane shot into a story worth exploring.

Allure of pattern breaking by Klaus Nielsen.

9. Rule of Odds

The rule of odds suggests that images with an odd number of elements are more visually appealing and balanced than those with an even number. This principle taps into the inherent nature of human perception to find order and balance. An odd number of subjects prevents the eye from dividing the space into equal halves, which can make the scene more dynamic and aesthetically pleasing. It’s particularly effective in portrait groupings, floral arrangements, or any setting where three elements can be positioned to create a triangle that guides the viewer’s gaze through the composition.

10. Fill the Frame

To fill the frame is to eliminate all but the essential, zooming in close or positioning yourself so that your subject occupies nearly the entire frame. This approach can be powerful in both portrait and macro photography, where the details of a face or the intricate patterns of an insect are so rich that anything else would be superfluous. It’s about intimacy and detail, drawing the viewer into the nuances of the subject, capturing the textures, colors, and emotions that might otherwise go unnoticed.

Detailed texture in Central London.

11. Leave Negative Space

Leaving significant amounts of negative space around your subject can be just as impactful as filling the frame. This technique creates a minimalist aesthetic that emphasizes the subject through isolation, making the viewer’s focus irresistibly drawn to the intended focal point. Negative space can be a clear sky, an expansive wall, or an open sea that stands in contrast to the subject, providing a breath of visual relief and a sense of scale. It’s particularly effective in creating a mood or emotion, such as solitude, tranquility, or even tension, depending on how the space interacts with the subject. This approach isn’t just about what you include; it’s equally about what you exclude, allowing the story to breathe and resonate within the unoccupied spaces.

12. Simplicity and Minimalism

In a world often cluttered with visual noise, simplicity and minimalism stand out by offering a serene reprieve. This composition technique strips down the scene to its core essentials, focusing on a single subject or a concise theme. It’s about eliminating distractions to highlight the beauty or impact of what remains. Whether it’s a lone figure against a stark backdrop, a simple object portrayed with elegant lighting, or a clean landscape with minimal elements, this style speaks volumes through quietness and restraint. It teaches the viewer to appreciate the subtlety and value of simplicity, making each element significant and every detail speaking loudly in silence.

Simplicity in composition by Alper Çakır.

13. Use Black and White

Black and white photography transcends the distraction of color, focusing the viewer on the raw textures, contrasts, and patterns of the scene. This technique is powerful for evoking a timeless quality and drawing deeper emotional reactions. It strips the narrative down to its visual essences—light against dark, white against black. This simplicity can often lead to a more profound connection with the subject, as it compels the viewer to fill the color gaps with personal interpretation and emotion. Whether capturing the rugged lines on an elderly face or the stark contrast of urban architecture, black and white create a dramatic stage for stories of any age.

14. Isolate the Subject

Isolating the subject using a shallow depth of field focuses attention precisely where it’s intended, making the subject stand out starkly against a blurred background. This technique is often used in portrait and wildlife photography, where the clarity of the subject is paramount. The isolation can also evoke a poignant sense of place and mood, highlighting the subject’s emotional state or the essence of their environment. It’s about using focus not just as a technical tool but as a narrative one, guiding the viewer’s eyes and emotions to connect deeply with the subject at hand.

Elegant female model in Central London, color.

15. Shoot from Below

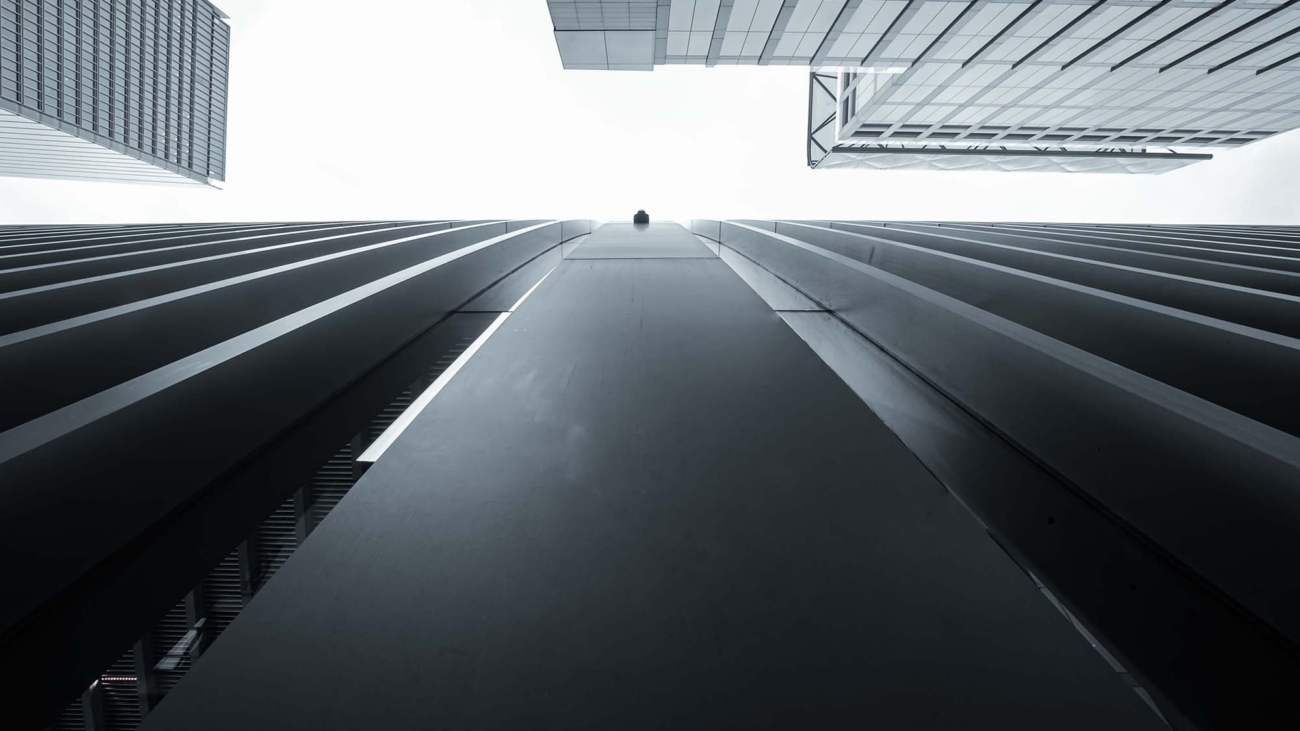
Shooting from a lower perspective can radically change the perception of the subject, imbuing it with a sense of grandeur and dominance. This angle invites the viewer to look up to the subject, be it a towering skyscraper, a commanding figure, or even a blooming flower seen from the ground up. It’s a powerful way to communicate strength and impact, making the ordinary appear extraordinary. This perspective not only alters the viewer’s physical viewpoint but also their conceptual viewpoint, challenging them to see the world from a different vantage point.

Architectural detail from below on Goodge Street.

16. Shoot from Above

Conversely, shooting from above provides a comprehensive overview, often lending a detached, observational quality to the photograph. This bird’s-eye view can simplify compositions, reducing complex scenes into more abstract forms and patterns. It’s particularly effective in capturing the hustle and bustle of street markets, the organized chaos of cityscapes, or the quiet solitude of a single person in a large space. From this vantage point, the photographer plays the role of an omniscient narrator, offering a god-like perspective that can make the expansive seem intimate and the mundane seem significant.

Aerial view of Goodge Street, London.

17. Look for Particular Color Combinations

Colors play a crucial role in setting the tone of an image. By focusing on specific color combinations, particularly those opposite on the color wheel, photographers can create vibrant and eye-catching compositions. This technique is not just about aesthetic appeal but also emotional resonance. Colors can evoke feelings of warmth or coldness, excitement or calm, harmony or chaos. Utilizing complementary colors (like blue and orange or red and green) can add a dynamic element to the photograph, drawing the viewer’s eye directly to the area of contrast and making the subjects pop against each other.

Vibrant Sophie in Central London, color portrait.

18. Rule of Space

The rule of space involves giving your subject room to move within the frame, anticipating their motion or gaze. This composition technique is particularly powerful in wildlife and sports photography, where the sense of movement is literal and dynamic. But it can also be applied in a more metaphorical sense in portraits or street photography, where the subject’s gaze towards an empty space can suggest anticipation, longing, or contemplation. It creates a narrative tension and a story that extends beyond the edges of the frame, inviting the viewer to imagine what lies ahead or just out of view.

Dynamic composition by James Wheeler.

19. Left to Right Rule

The left to right rule leverages the natural way most people scan images, influenced by the direction of reading in many cultures. By placing key elements or the movement from the left side of the frame to the right, the composition feels more natural and is easier for the viewer to engage with. This technique can be particularly effective in narrative sequences or when directing the viewer through a series of events or actions within the frame. It also helps in creating a sense of ease and flow in the viewing experience, making the photograph not just seen but also felt in its dynamic progression.

Guided viewing by Aleksandar Radovanovic.

20. Balance Elements in the Scene

Balancing elements within a composition is akin to finding visual equilibrium. This can mean mirroring subjects of similar visual weight across the frame or placing a single small subject against a large expansive background to create a pleasing asymmetry. This technique ensures stability in your photos, even if the balance is achieved through contrasting elements. It’s particularly effective in landscapes where the sky and land intersect, or in architectural photography where the interplay between space and structure needs to resonate with harmony. This approach isn’t just about symmetry; it’s about arranging all elements so that they feel inherently right and aesthetically pleasing together.

Unique balance by bt3gl PH.

21. Juxtaposition

Juxtaposition involves placing seemingly unrelated or contrasting elements next to each other to create a more complex narrative or highlight differences. This technique can evoke curiosity, surprise, or deeper thinking, depending on the elements juxtaposed. It might be an old building next to a modern skyscraper, a vibrant flower amid decay, or a solitary figure surrounded by a crowd. Juxtaposition not only enhances visual interest but also invites the viewer to make personal connections or contrasts, enriching the interpretative layers of the image. It’s about crafting a dialogue between disparate elements that, when placed together, tell a story greater than the sum of their parts.

22. Golden Triangles

The use of golden triangles involves dividing the image using diagonal lines that create triangles, with the elements of the photo aligned along these lines or within these shapes. This composition technique lends dynamic tension and a sense of movement to your photos. It works well in varied photographic contexts, from capturing the angular dynamics of a bustling city intersection to the serene diagonals of a lone tree on a hill. The key is to use the natural and structural lines present in your scene to guide the viewer’s eye through the image, creating both balance and intrigue through angular harmony.

Golden triangles in urban London.

23. Golden Ratio

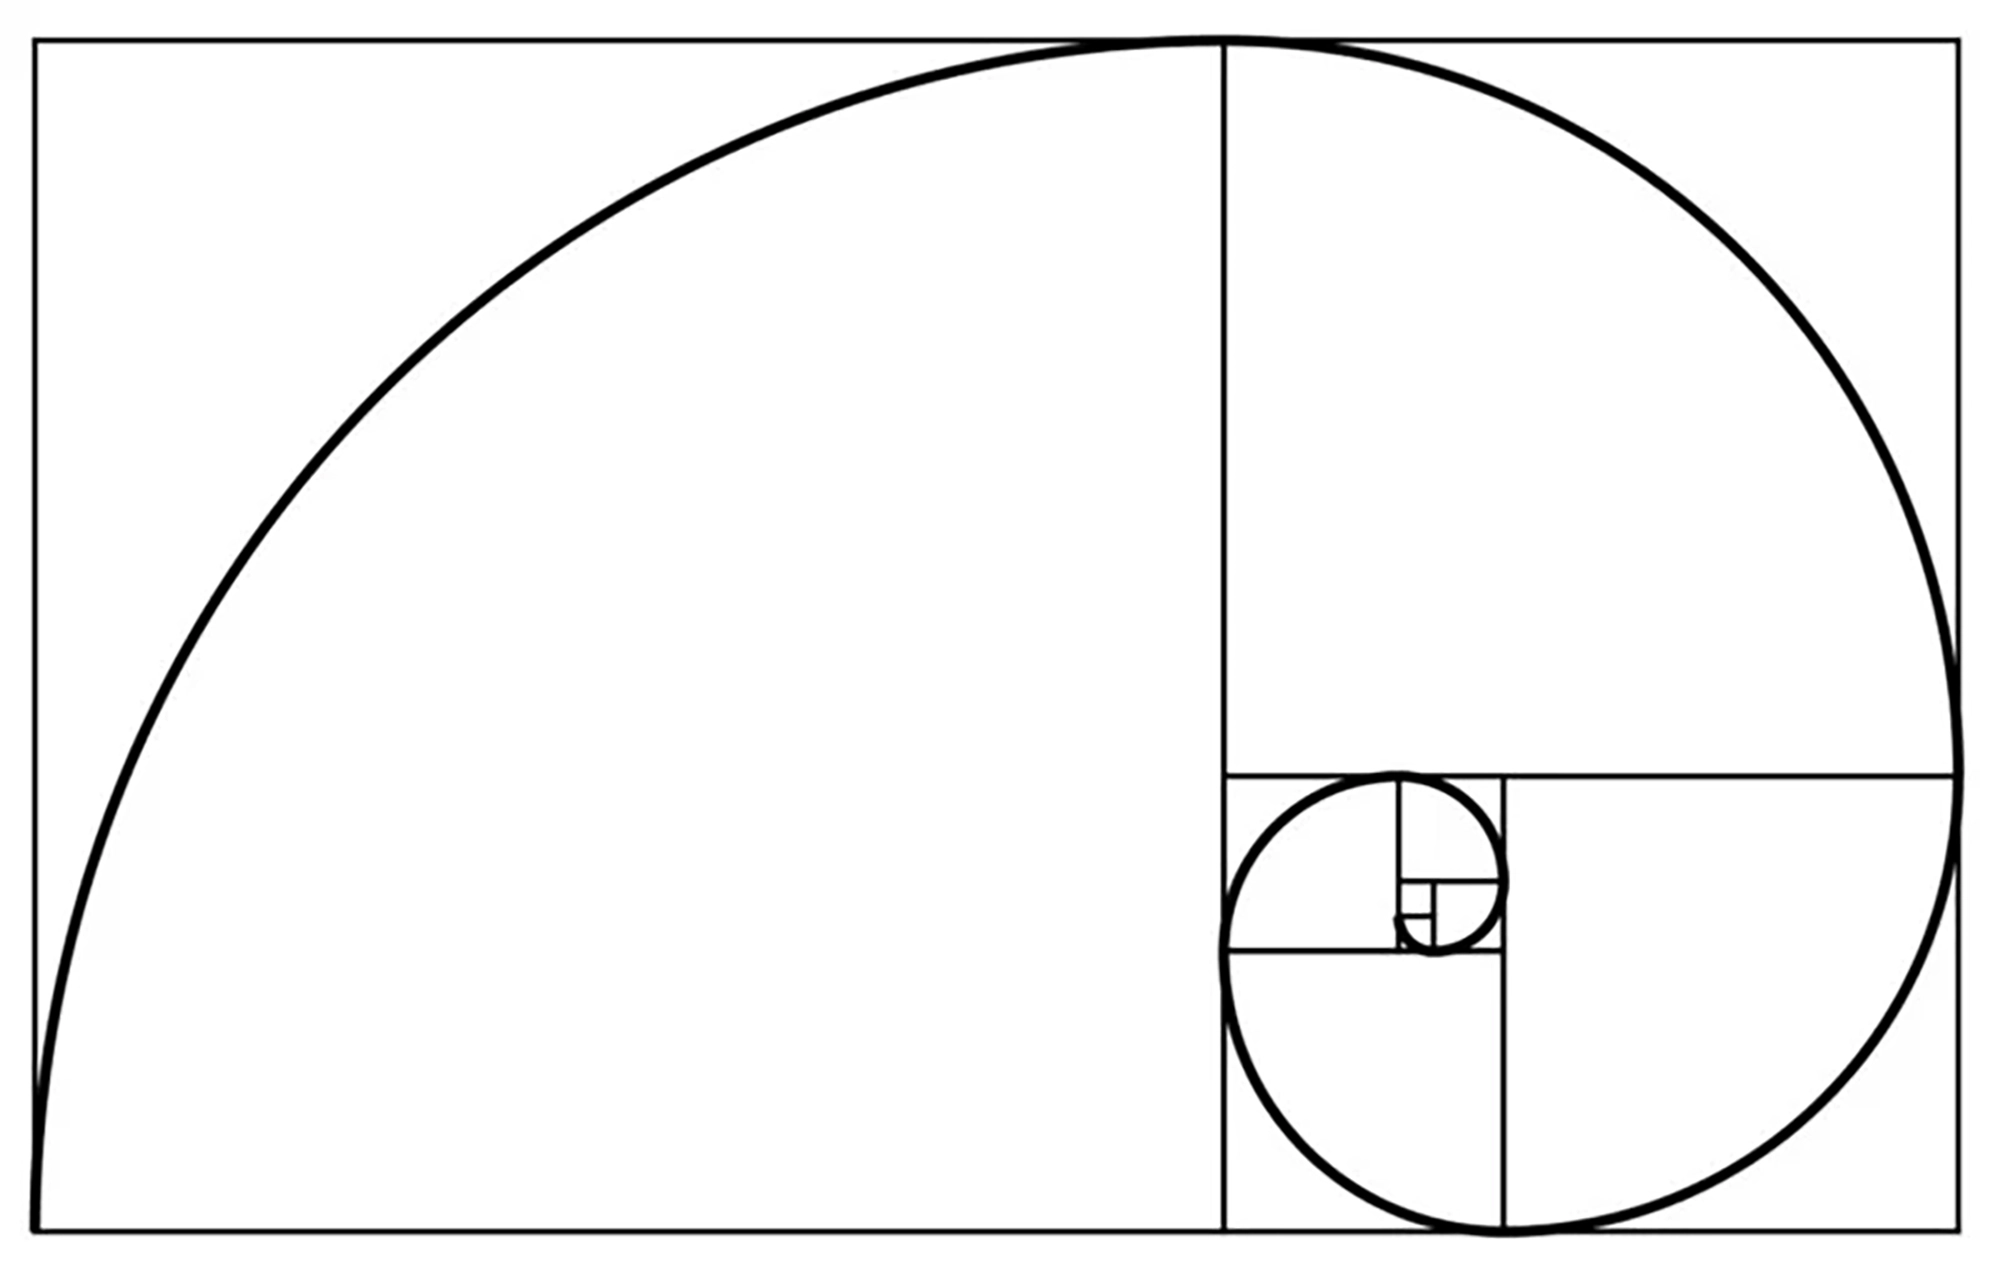
A step beyond the rule of thirds, the golden ratio is about placing your subject along a curve or spiral that follows a 1:1.618 ratio, often referred to as the Fibonacci spiral. This method is believed to be inherently pleasing to the human eye and is used to create a natural focus that feels organically embedded within the broader scene. It’s especially powerful in portrait and nature photography, where the spiral can guide the viewer’s eye through the curves of a face or the sweep of a landscape, making the composition feel simultaneously grounded and fluid. The golden ratio invites the viewer on a visual journey that feels both guided and natural.

Golden ratio in photography.

24. Let the Background Give Context to the Subject

Allowing the background to inform the story of the subject adds depth and a richer narrative layer to your photographs. This technique is about more than just backdrop; it’s about context and enhancement. For example, a portrait with a bustling market behind the subject can suggest vibrancy and life, while a lone figure against a stark, empty landscape might convey isolation or introspection. The background sets the stage, providing clues to the subject’s environment and emotional or social state, making the image not just a portrait but a story captured in time.

25. Let the Eye Wander Around the Frame

Creating compositions that encourage the viewer’s eye to wander around the frame engages and retains interest. This technique is particularly useful in complex scenes, where multiple elements—whether in a crowded street scene, a detailed landscape, or a layered social gathering—invite exploration. It’s about crafting a visual narrative that offers several points of interest, encouraging the viewer to linger within the frame, discovering new details and connections that enrich the overall experience of the image.

26. Use Layers in the Frame

Layering involves strategically placing elements at different depths within the frame to create a sense of three-dimensional space in a two-dimensional medium. This can mean foreground elements like branches framing a distant mountain, or people scattered at varying distances in an urban scene. Each layer contributes its own story, adding to a cumulative narrative that makes the photograph denser and more immersive. This technique is about depth not just as a physical concept but as a narrative one, where each layer offers a unique contribution to the visual story being told.

Depth creation by Mathias Reding.

27. Add Human Interest

Including people in photographs automatically adds a layer of narrative and emotional engagement. Human subjects provide a point of connection for viewers, offering a glimpse into a moment of life, an emotion, or an activity that is universally relatable. Whether it’s a candid shot of a bustling street, a portrait of a person in their home environment, or a staged interaction, human elements make photographs more compelling and often more memorable. This technique emphasizes the human aspect of photography, capturing the essence of human experiences as both a witness and a narrator.

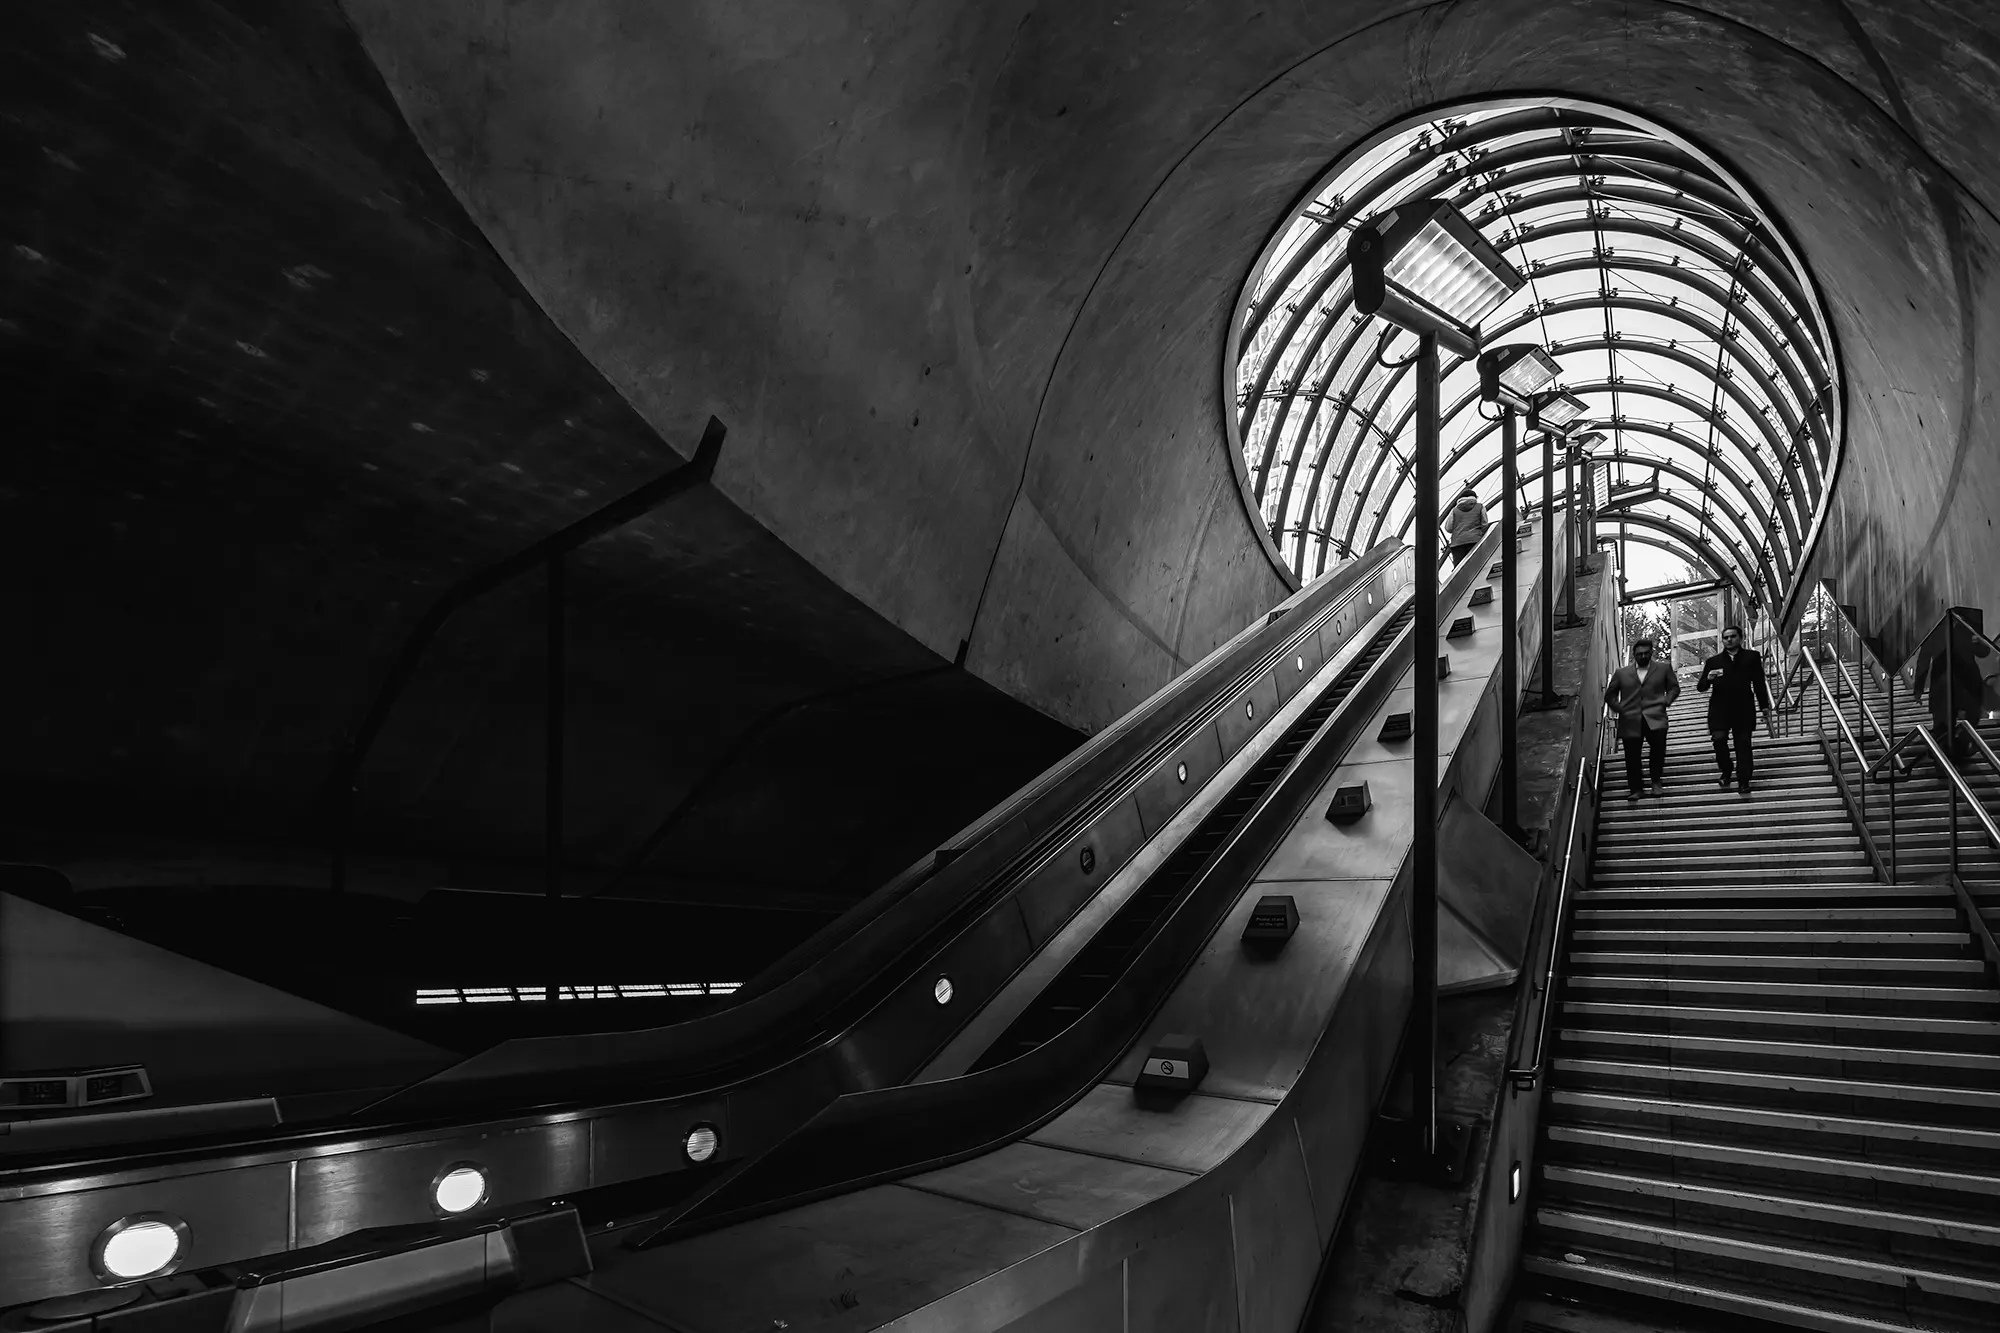
Textural details of Canary Wharf underground in B&W.

28. Wait for the “Decisive Moment”

The “decisive moment” is that split second when all elements within the frame align perfectly, capturing the essence of the experience and offering the viewer a poignant glimpse into the scene. This might be the exact moment a dancer leaps, a bird takes flight, or a smile spreads across a subject’s face. It’s about anticipation and timing, understanding the scene and its potential so that you can capture the peak of emotional or physical action. This technique requires patience and a keen sense of observation, but the result is often a powerful and timeless image that encapsulates the essence of a singular, unrepeatable moment.

Decisive moment by Daniel Kux.

Conclusion

Mastering these 28 advanced photography composition techniques offers a comprehensive toolkit for transforming your visual stories from simple images to complex, evocative narratives. Each technique provides a different lens through which to view the world, challenging you to explore and experiment with new perspectives and storytelling methods. As you grow in your photographic journey, remember that these techniques are not just rules to follow but starting points for creative exploration. Photography is about seeing, feeling, and communicating through imagery, and with these tools at your disposal, you can aim to not just capture moments but to create art that resonates deeply with viewers.

Visual mastery by Matheus Bertelli.

Interested in Perfecting Your Photo Composition?

Explore our comprehensive guide to mastering composition techniques and elevate your photography to professional levels. Dive deeper into the art of visual storytelling with our tailored workshops and online tutorials. Click here to learn more and sign up today!

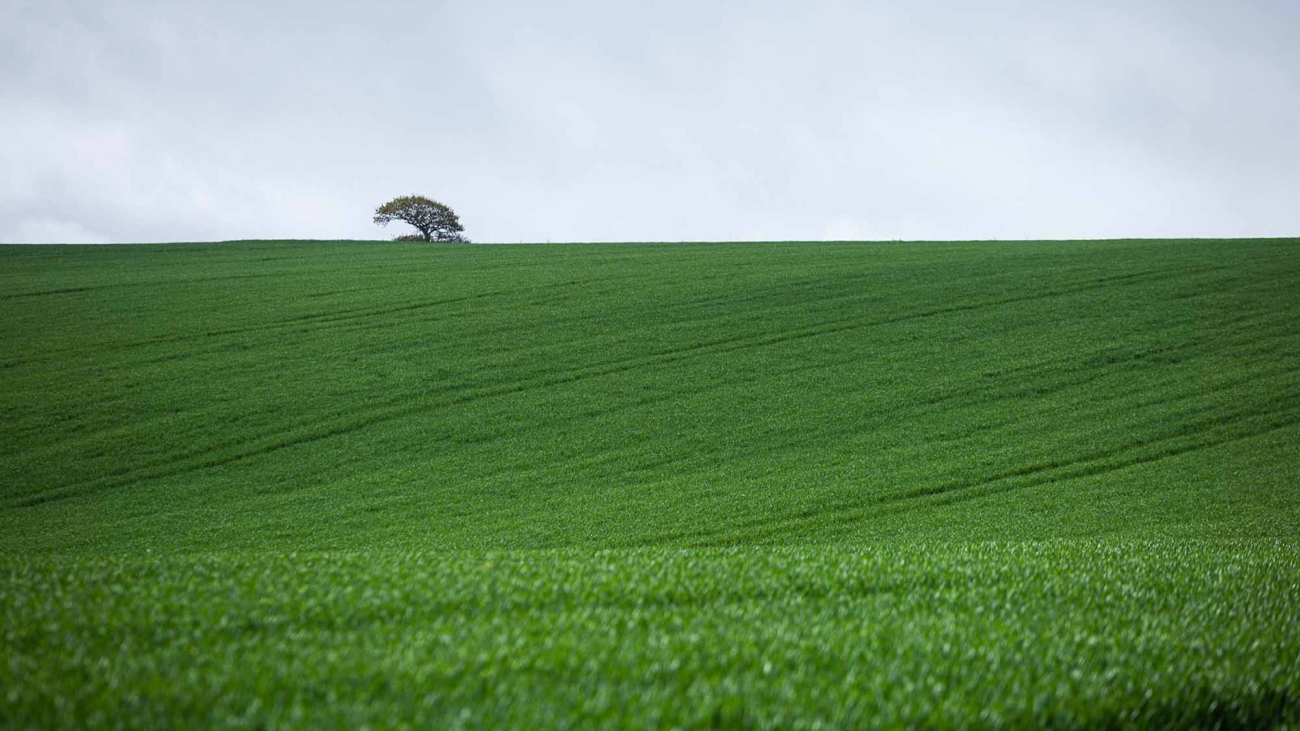
Verdant English countryside under a clear sky.

Mastering Landscape Photography with a Telephoto Lens

Introduction

Landscape photography is not just about capturing what you see; it’s about conveying how you see it. The use of a telephoto lens in landscape photography opens up a realm of possibilities, allowing photographers to compress distances, isolate subjects, and capture details that transform the ordinary into the extraordinary.

The Unseen Majesty of Far-Off Landscapes

A telephoto lens, typically ranging from 70mm to 200mm or more, offers a unique perspective in landscape photography. It can transform a scene, bringing distant elements into sharp focus and creating a sense of intimacy with the vastness of nature. Mountains become more majestic, forests more intricate, and horizons more captivating.

Storytelling Through Isolation

In the vast canvas of a landscape, a telephoto lens allows photographers to isolate singular elements, turning them into the protagonists of the scene. A single tree against the backdrop of rolling hills, a solitary boat on a vast lake, or a distant farmhouse set against the mountainside – each becomes a story waiting to be told.

The Layered World: Compressing Depth for Impact

Telephoto lenses compress the perceived distance between foreground and background, creating a layered effect that adds depth and drama to a photograph. This technique is particularly powerful in landscapes, where the layering of hills, valleys, and cloud formations can create a striking visual narrative.

Colorful sunset clouds over Rabat.

Creative Process: The Art of Seeing Differently

The creative process with a telephoto lens in landscape photography is as much about patience and observation as it is about technical skill. It involves understanding the interplay of light and shadow, recognizing patterns and textures from a distance, and anticipating how elements in nature might align to create a compelling composition.

  1. Observation and Patience: Spend time observing your landscape. Notice how the light changes throughout the day and how it interacts with the elements within your frame.
  2. Composition and Framing: With a narrower field of view, composition becomes crucial. Experiment with different angles and positions to find the most compelling way to frame your subject.
  3. Embrace the Weather: Overcast days, misty mornings, and even light rain can add mood and depth to your landscapes. Don’t shy away from less-than-perfect weather conditions.

Tips for Aspiring Landscape Photographers

For those starting in telephoto landscape photography, here are some tips to guide your journey:

  1. Invest in a Quality Tripod: Stability is key in telephoto photography. A sturdy tripod will help eliminate camera shake and ensure sharp images.
  2. Experiment with Focal Lengths: Different focal lengths offer different perspectives. Experiment to find the right balance between subject isolation and environmental context.
  3. Understand Your Lens: Spend time getting to know your lens. Understand its strengths and limitations, especially in terms of aperture and depth of field.
  4. Practice Manual Focus: Sometimes, auto-focus may not accurately capture your intended subject. Practicing manual focus gives you more control, especially in complex visual environments.

Conclusion: A Journey of Discovery

Embarking on landscape photography with a telephoto lens is a journey of discovery and creativity. It challenges conventional perspectives, encourages exploration of the unseen, and enhances storytelling through visuals. The power of a telephoto lens lies not just in its ability to bring distant subjects closer but in its capacity to transform the way we perceive and interpret the natural world around us.

Skyward lines of Liverpool Street building.

Capturing Life in Structures: The Trend of Architecture in Use

Introduction

In the world of architectural photography, a transformation is underway. The emerging trend, “Architecture in Use,” is redefining the genre. This approach moves beyond the traditional focus on aesthetic elements of buildings, capturing the dynamic interaction between people and architectural spaces. This shift towards a more human-centric narrative is not just visually compelling but also adds depth and relatability to architectural photography.

The Human-Centric Shift in Architectural Photography

Traditional architectural photography often prioritizes the physical aspects of buildings – their lines, forms, and textures. However, by incorporating people, the new trend of “Architecture in Use” breathes life into these static images. It tells a fuller story, showcasing the practicality and influence of architecture on daily life.

Why “Architecture in Use” is Gaining Traction

  1. Narrative Depth: Adding human elements provides a story to each structure, revealing how spaces serve their purpose.

  2. Relatability: Images of architecture in use help viewers imagine themselves in those spaces, enhancing engagement.

  3. Commercial Appeal: For businesses, these images offer a more comprehensive marketing tool, selling not just a space but an experience.

Techniques for Capturing Life in Structures

  • Timing and Activity: Capturing buildings during peak times or meaningful interactions adds vibrancy and realism.

  • Focus on Interaction: Observing how people engage with the space enhances the photograph’s storytelling.

  • Natural Lighting: Utilizing natural light can accentuate both the architecture and the activities within.

  • Varied Angles: Experimenting with different perspectives provides a more complete view of the interaction between people and buildings.

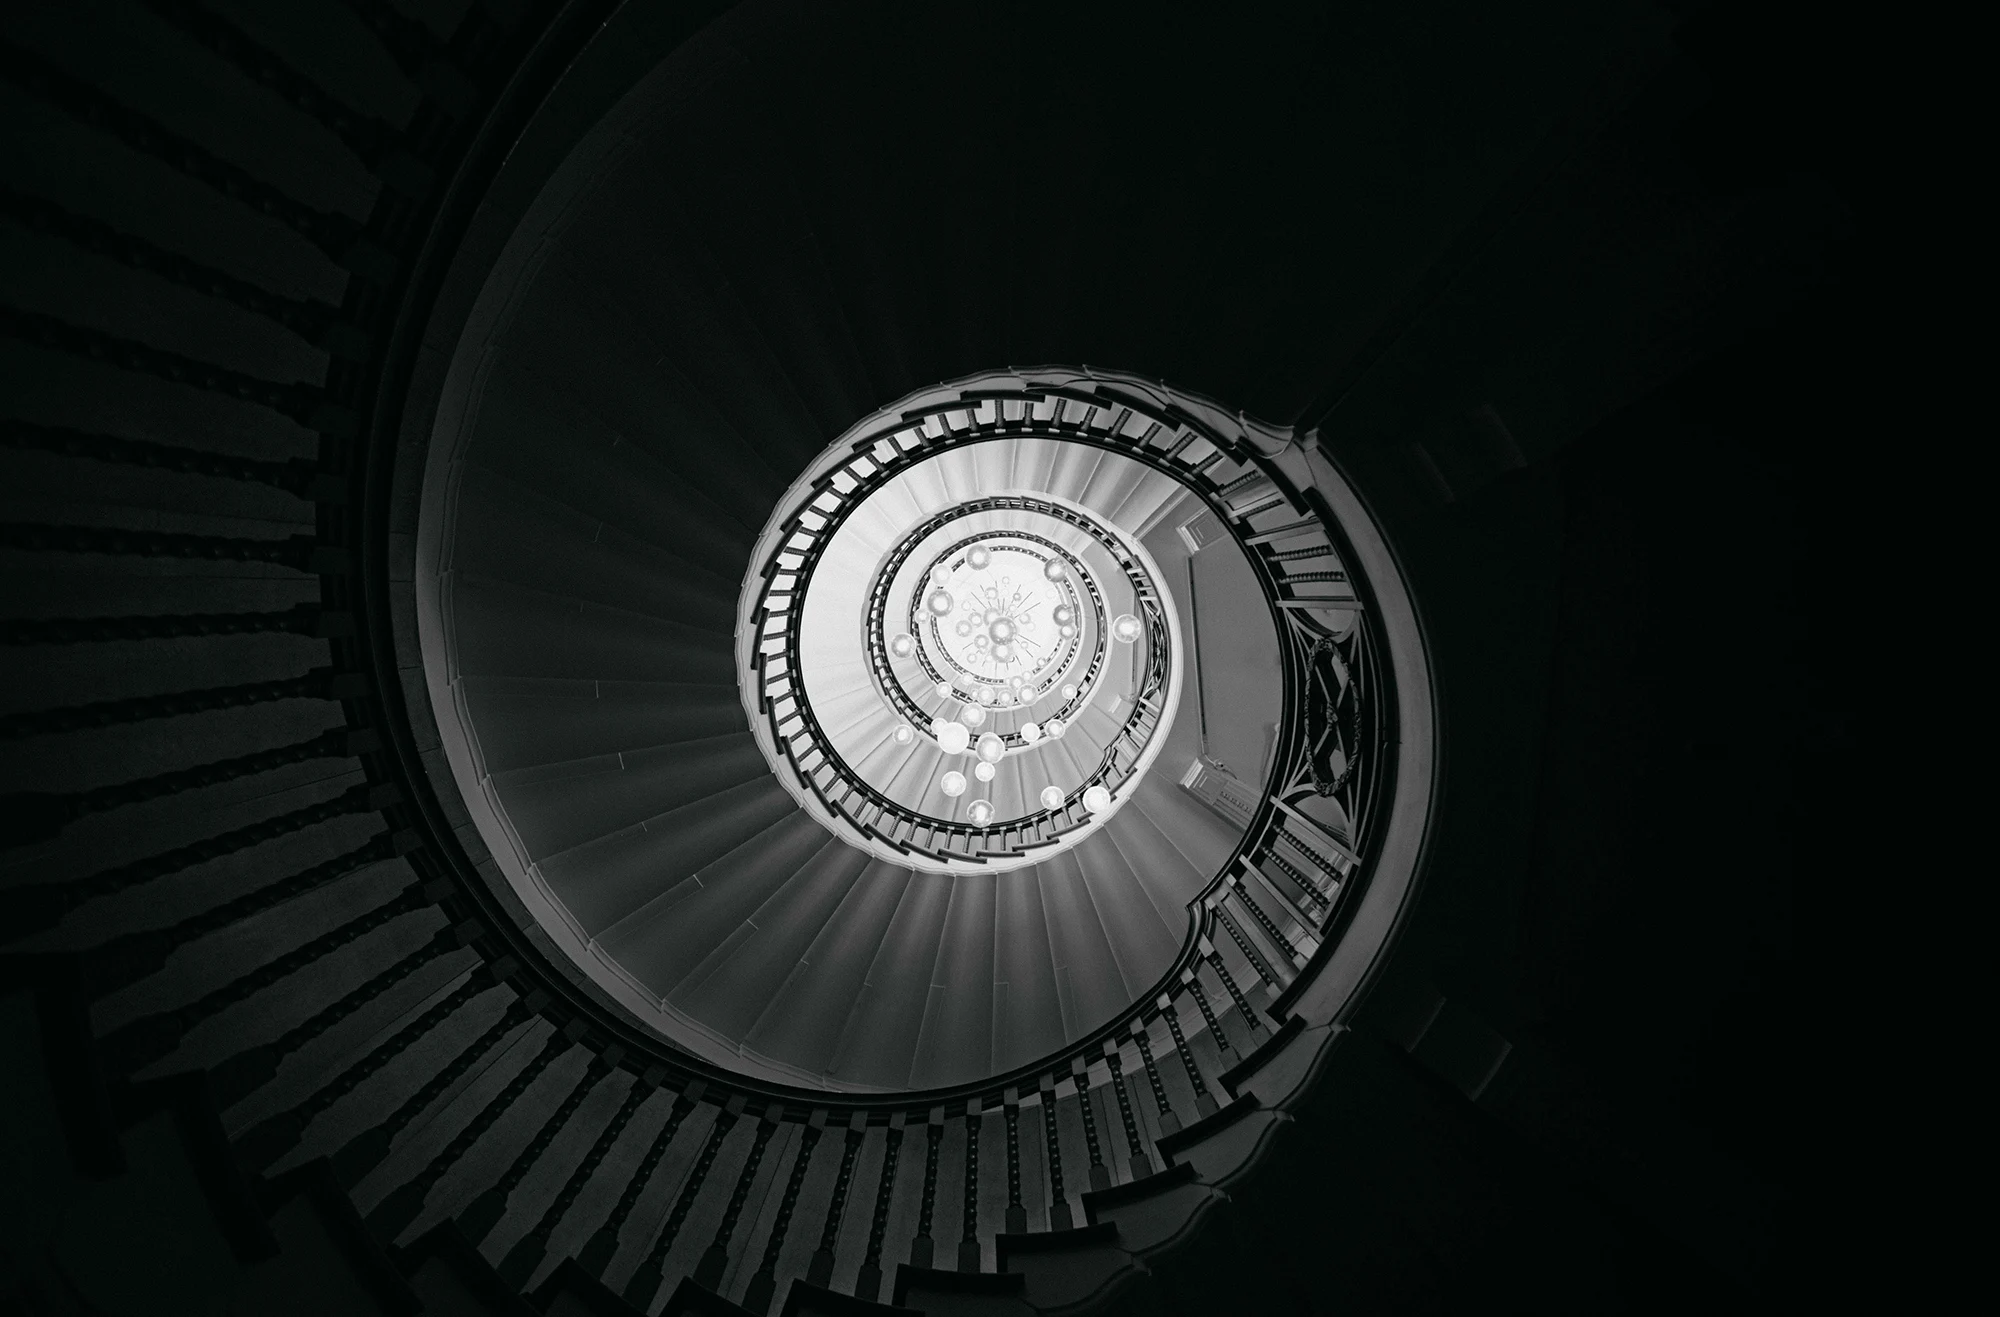
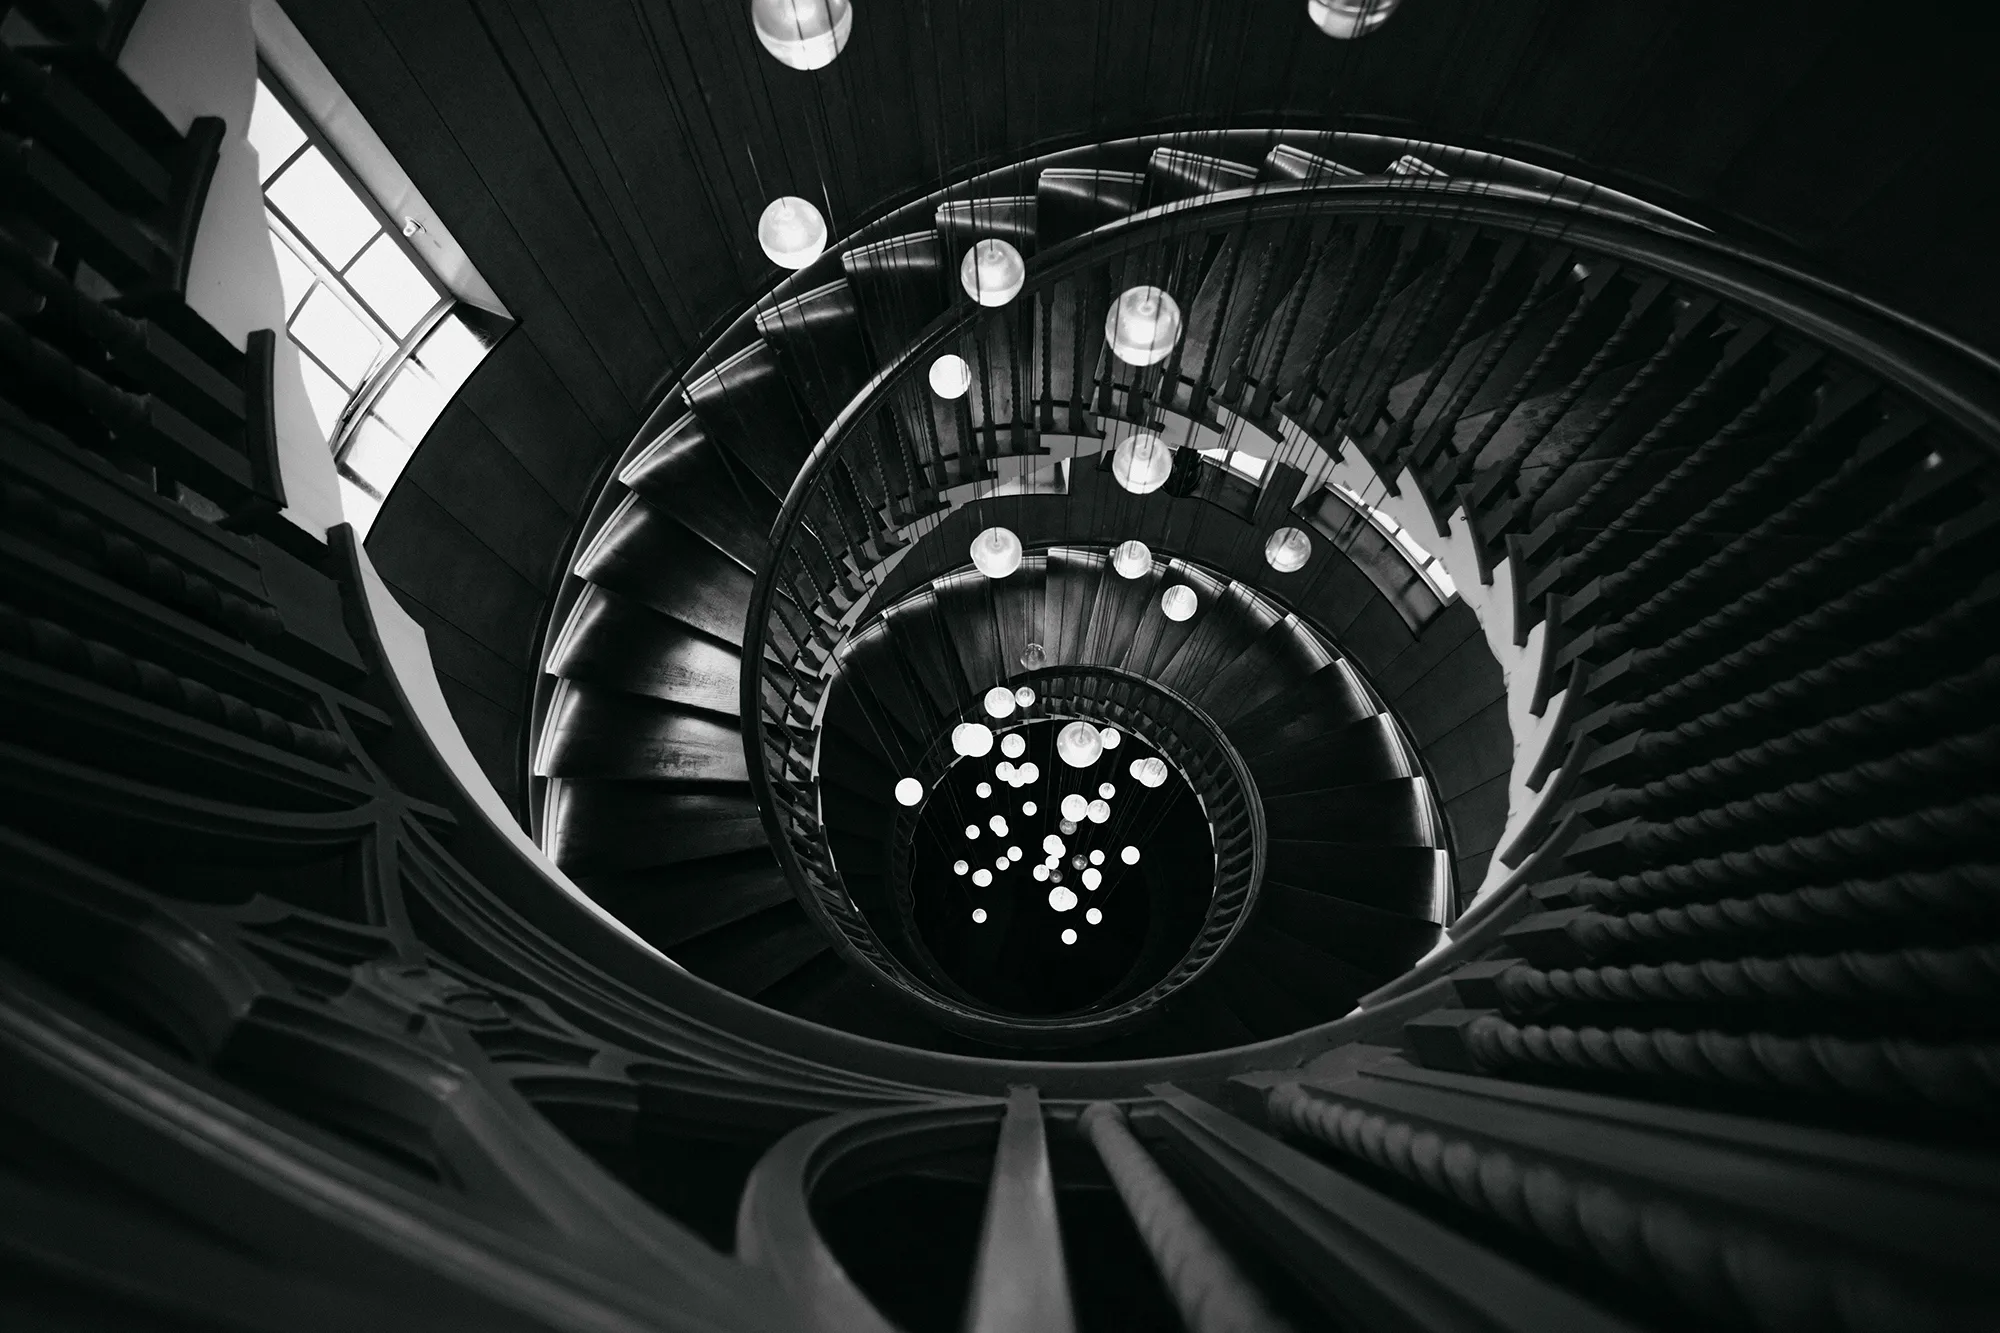
Hypnotic spiral staircase at Heal's in B&W.

The Creative Process in Architectural Photography

Exploring “Architecture in Use” involves a unique creative process:

  1. Pre-visualization: Envision how the building’s design interacts with human activity.

  2. Research and Planning: Understand the building’s purpose and peak activity times for optimal shooting.

  3. Experimentation: Try various compositions, from wide-angle shots capturing the entirety of the space to close-ups that focus on specific interactions.

Tips for Aspiring Architectural Photographers

  • Understand Architectural Fundamentals: Learn about architectural styles and design principles.

  • Master Your Equipment: Know your camera and lenses to capture buildings effectively in different light conditions and angles.

  • Observe and Reflect: Spend time observing how people interact with various spaces.

  • Network and Collaborate: Connect with architects and designers for insights and access to unique locations.

  • Continual Learning: Stay updated with the latest trends and technologies in photography and architecture.

Conclusion

“Capturing Life in Structures: The Trend of Architecture in Use” is not just a photographic technique but a narrative tool that showcases buildings as integral parts of human life. This trend adds a new dimension to architectural photography, making it more engaging and relatable.